フェードアウトとフェードインのUIを追加しました。一度作っておけば使いまわしが可能です。
初心者でも簡単に出来ますので、是非作ってみてください。
👇1秒かけてフェードアウトしてゲーム画面に遷移

👇ボール発射前、1秒かけてフェードイン
👇GIF動画のブロック崩しの作り方はこちら(自作キャラなくても問題なし)

Fade Out の UI
簡単な4STEPで説明します。
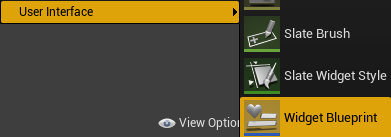
Widget Blueprint作成
コンテンツブラウザ内で右クリック、[User Interface]から[Widget Blueprint]を作成。
名前を[UMG_FadeOut]として、ダブルクリックして開く。
(UMG = Unreal Motion Graphics UI)
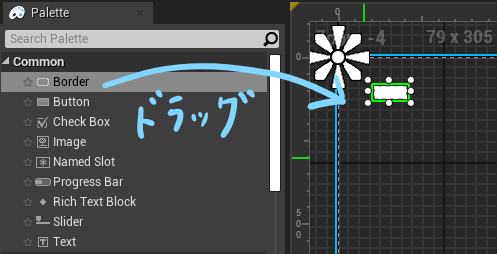
Border作成
ドラッグして[Border]を画面に追加。
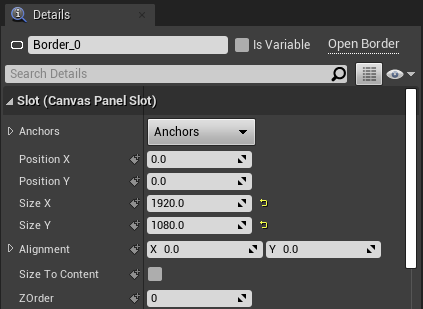
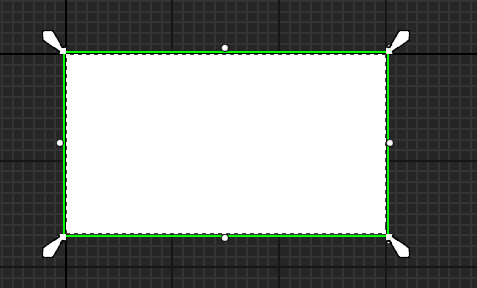
画面右の[Details]パネルから、[Border]の大きさを画面の大きさに設定。
↓
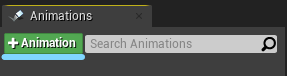
アニメーション作成
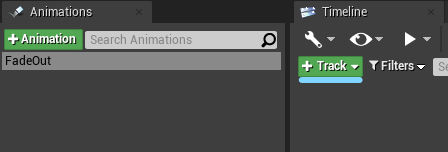
画面左下の[Animations]から、[+ Animation]をクリック。名前を[FadeOut]とする。
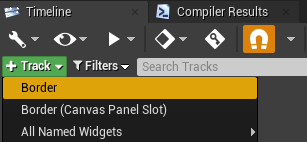
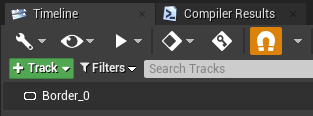
[Timeline]パネルで[+ Track]をクリックして、[Border]を選択する。
↓
↓
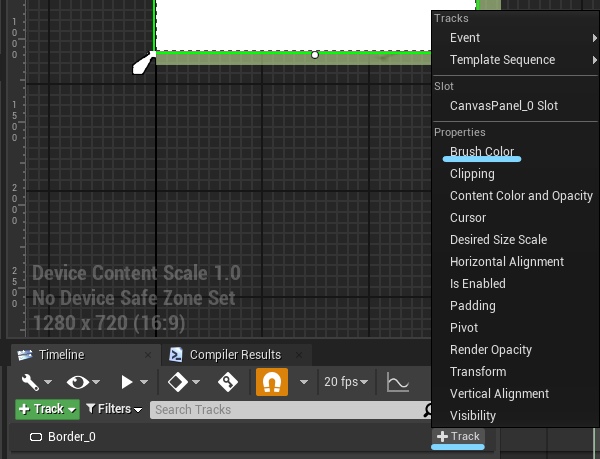
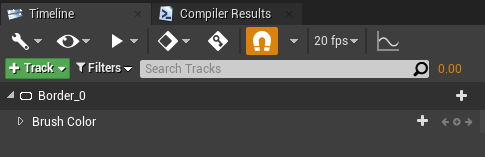
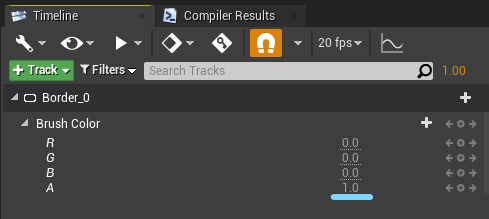
[Border]の右から[+ Track ]をクリックして、[Bruch Color]を選択。
↓
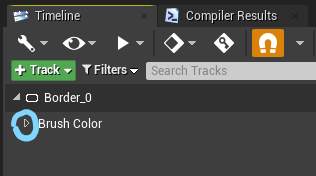
[Brush Color]の左の小さな▽をクリック。
↓
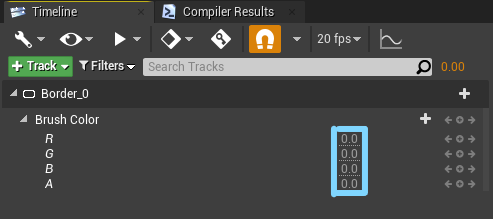
RGBAの値を全て0(透明)にする。
[Timeline]パネルの右側にあるバーを[1.00]の場所にドラッグする。
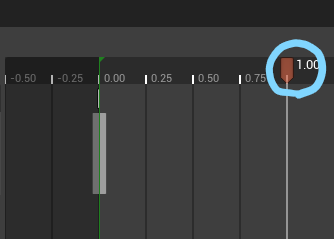
Aの値だけ[1.0]にする(不透明)。
↓
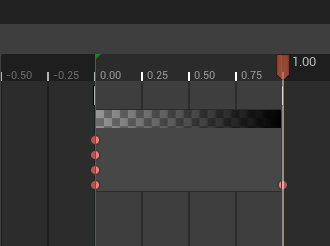
タイムラインにキーフレームが打たれる。
[0.00]秒では透明、[1.00]秒では不透明(黒)になることが分かる。
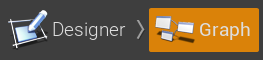
Graphの編集
画面右上で[Graph]を選択。
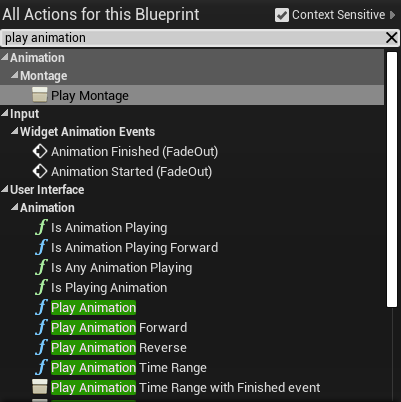
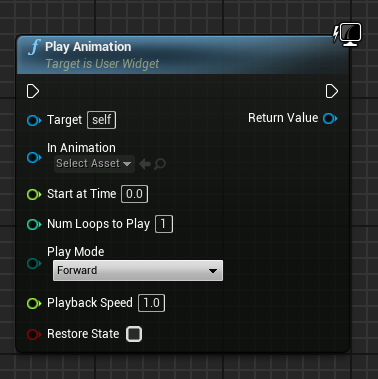
エディタ上で右クリック。[play animation]を検索してノードを作成。
↓
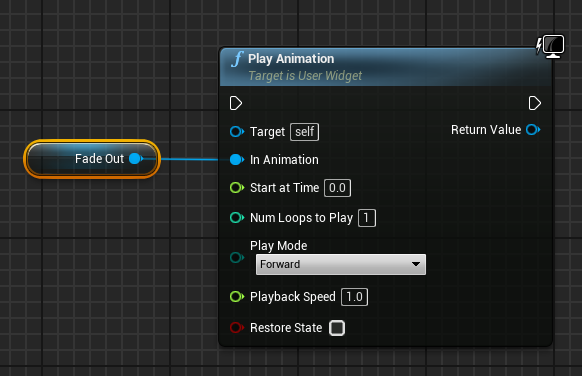
[FadeOut]を[Play Animation]の[In Animation]にドラッグ。
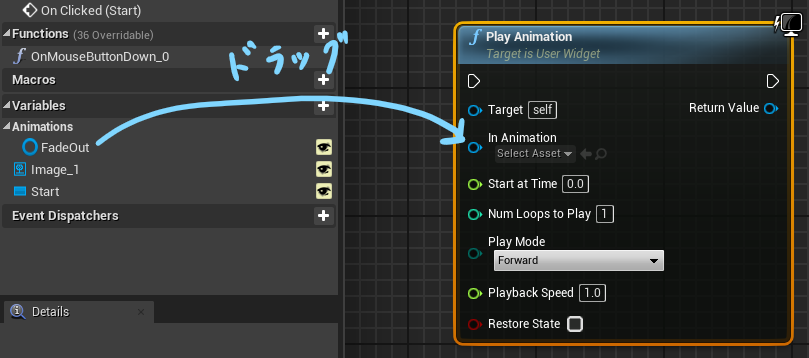
↓
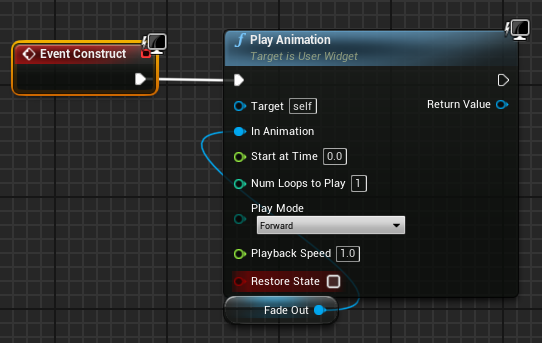
[Event Construct]と繋げる。こうすることで、UIが表示されたタイミングでアニメーションが再生される。
👇クリックで拡大
UIを組み込む
以前作ったブロック崩しにFade Out のUIを組み込んでいきます
👇ブロック崩しの作り方
フェードアウトを組み込みたいUIを表示。
(今回はタイトルのUIを使用する。タイトルのUIの作り方などについては、こちらの記事をどうぞ。)
画面右上からグラフを選択。
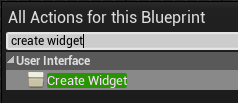
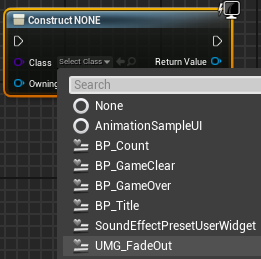
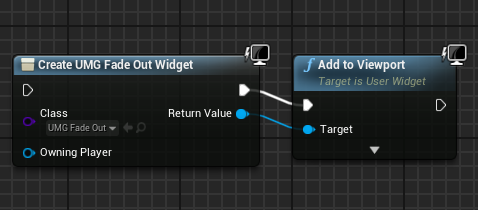
[Create Widget]のノードを作成。
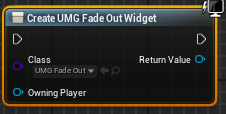
[Class]として、先ほど作った[UMG_FadeOut]を選択。
↓
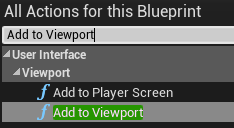
[Add to Viewport]のノードを作成して、先ほどのノードと繋ぐ。
↓
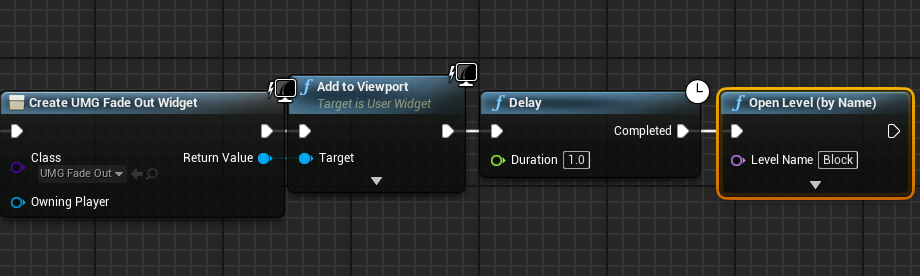
フェードアウトしたいタイミングに、このノードを組み込む。
(Delayすることで、フェードアウトした後に次のノードに移れる。)
👇クリックで拡大
Fade In のUI
Fade Out のUIをコピペして作るので、簡単にできます。
[UMG_FadeOut]を選択してCtrl + W(複製)。
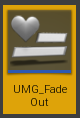
名前は[UMG_FadeIn]として開く。
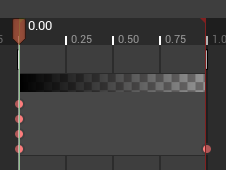
アニメーションを先ほどと逆にする。
[0.00]のときAを1(不透明)、[1.00]のときAを0(透明)。
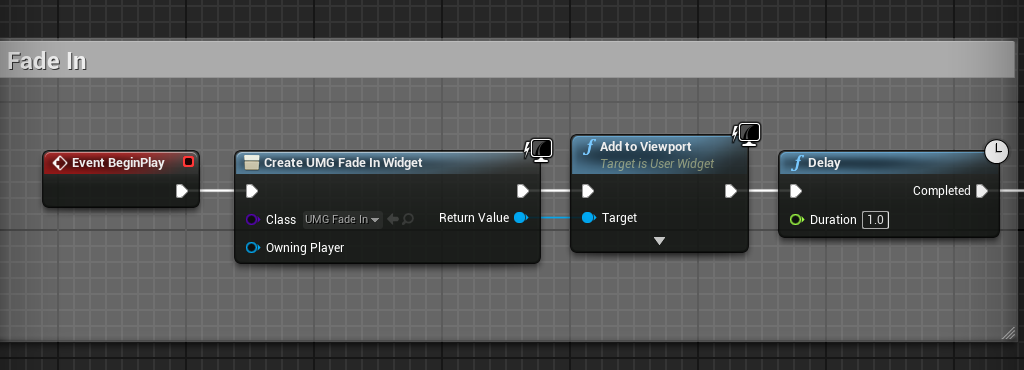
ブループリントに組み込む。
今回は、ボールの発射前に追加した。
Twitterしてます
ブログの更新をお知らせ
コメント