高機能なゲームエンジンであるUnreal Engineは無料で簡単に始めることができます。
インストールの仕方などは以前の記事をどうぞ。
前回の続きで、First PersonのBPを学びました。
HP(Health)が少なくなるに従い、画面がモノクロに近づくBPを作りました。
参考動画
ゲームデザイナーのためのブループリントとゲームプレイ>Post Process Volumes
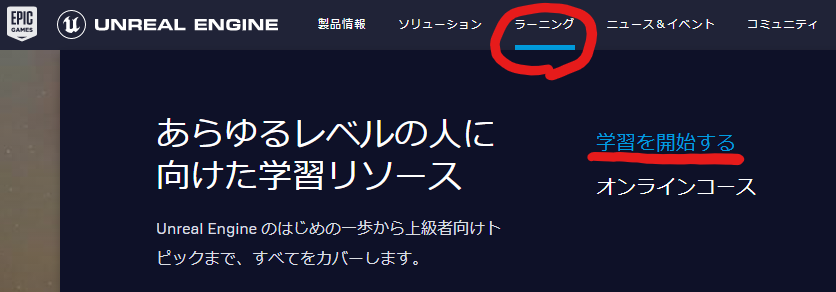
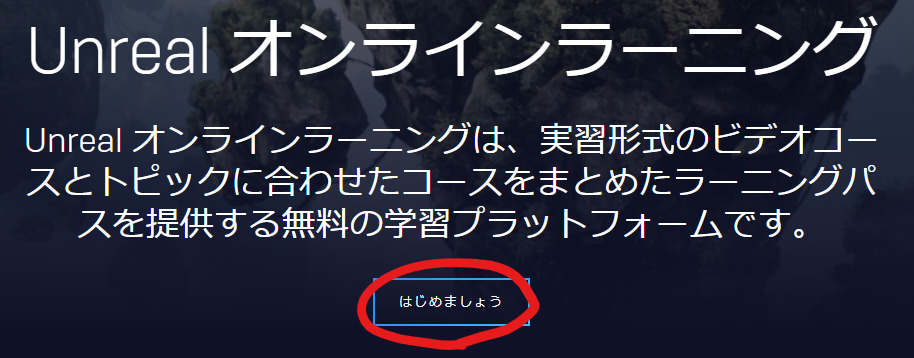
1.Googleで検索する。そして画像の手順にすすめる。
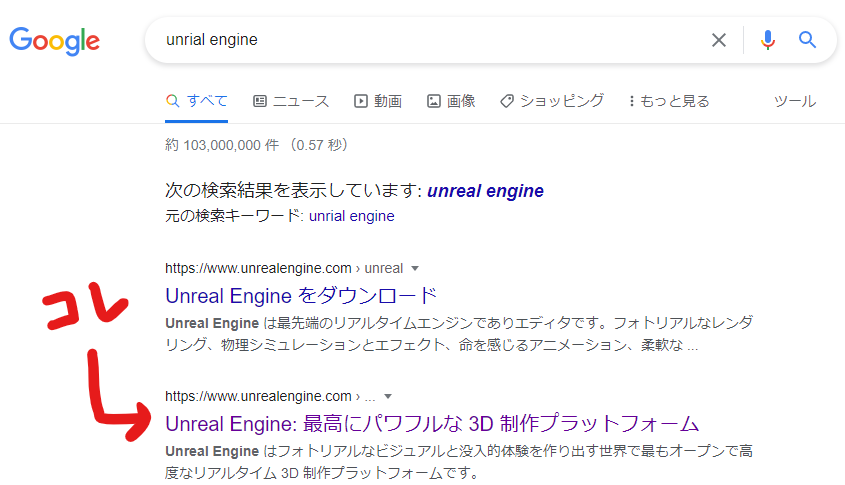
↓
↓
↓
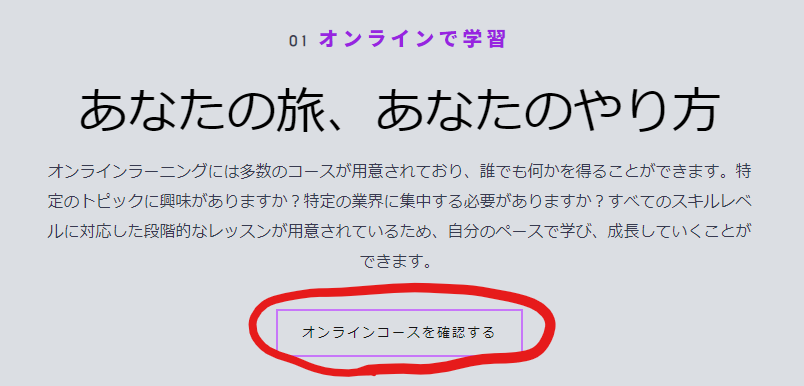
2.左のウィジェットからコンテンツライブラリを選ぶ。
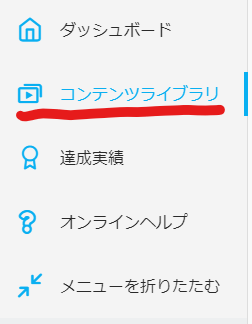
3.中央にある検索窓から見たい動画を検索。

4.動画を見る。
今回はEpicから配布されている[Blueprints and Gameplay In Development]というプロジェクトを使って学習しています。
1.Unreal engineのサイトのトップバーから、PERSONALを選ぶ。
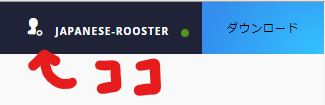
(まずサイト右上のIDにカーソルを合わせる)
↓

(PERSONALを選ぶ)
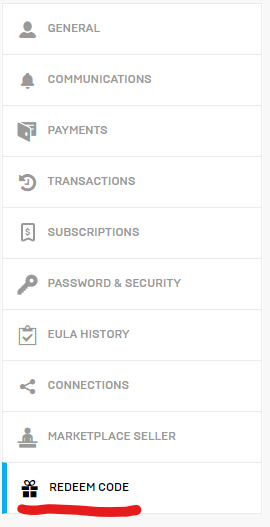
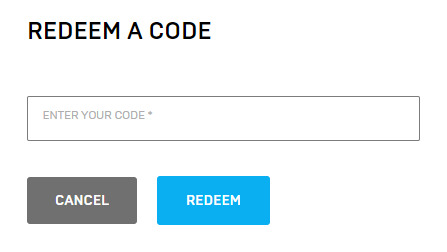
2.REDEEM CODE(コードの利用)を選ぶ。
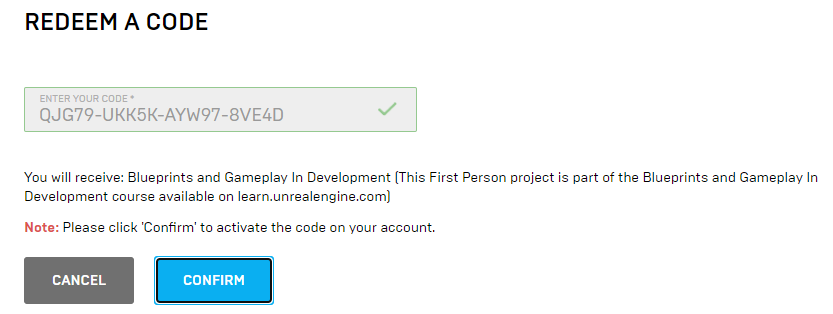
3.次のコードを入力して、REDEEM(コードを利用)をクリック。
QJG79-UKK5K-AYW97-8VE4D
4.COMFIRM(確認)をクリック。
学習内容
知識
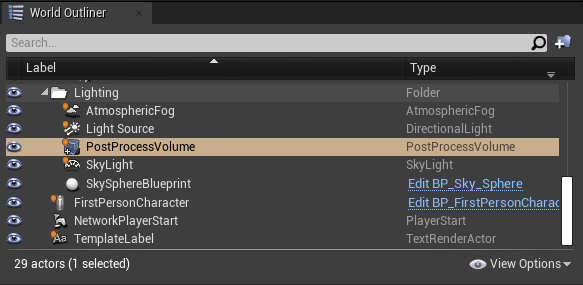
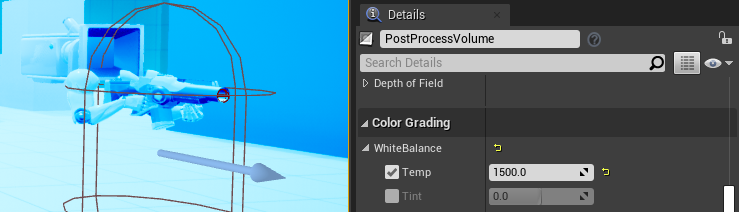
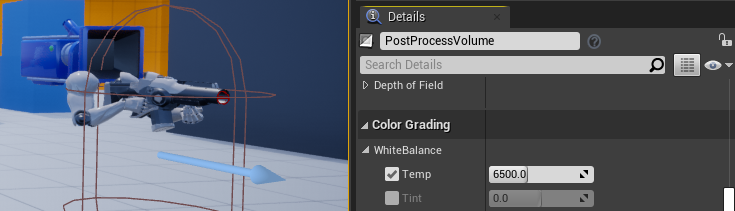
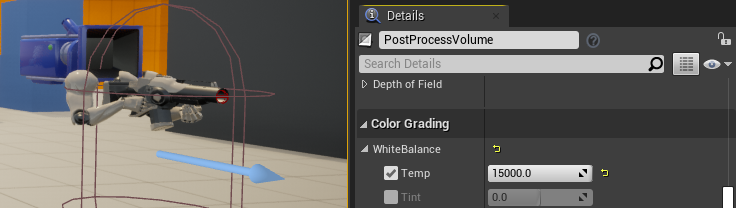
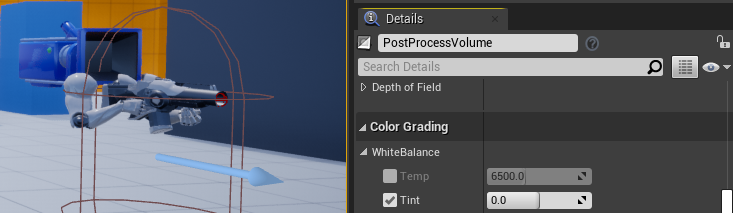
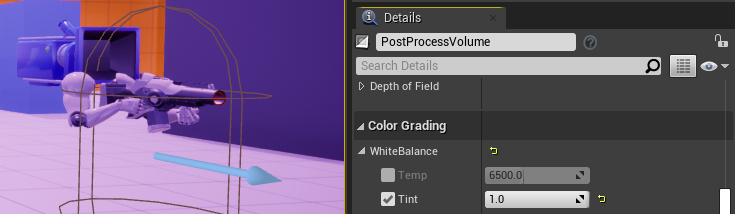
Detailパネルで、ホワイトバランスや色の3属性などを調整できるもの。
デフォルトのものは、UE4のエディタ内のWorld Outlinerから選び設定することができる。
色温度(Correlated Color temperature)
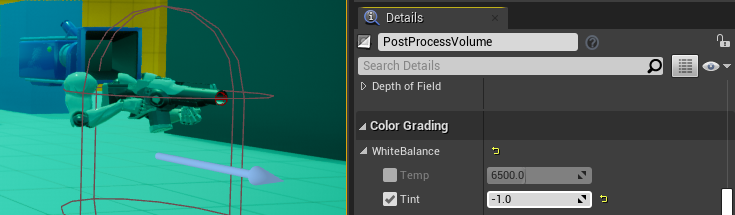
ティント
・色相(hue)
・明度(brightness, lightness, value)
・彩度(chroma, saturation)
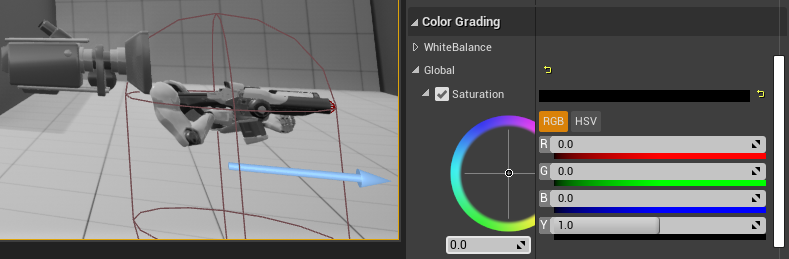
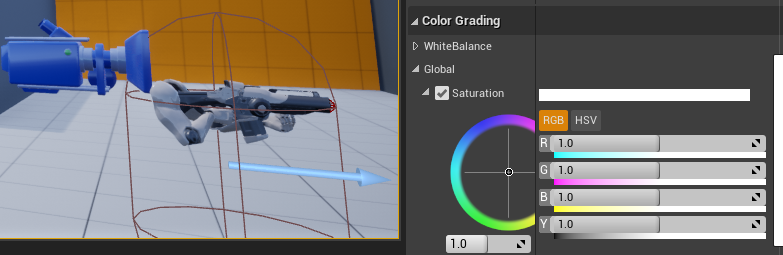
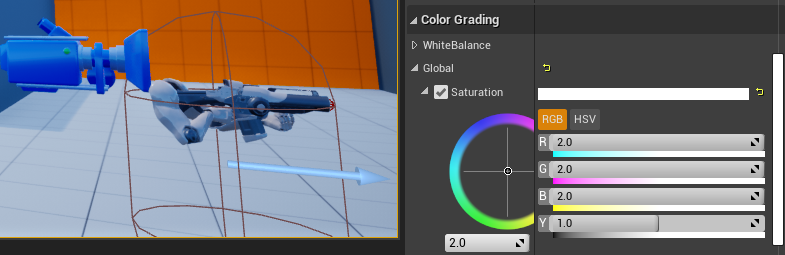
(今回のプロジェクトでは彩度を[1.1]にしている。)
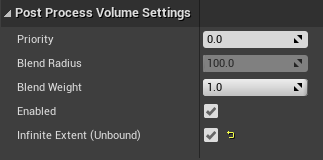
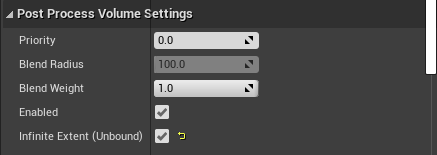
UE4のエディタ内のPost Process Volume。Priorityを0、Blend Weightを1にしている。
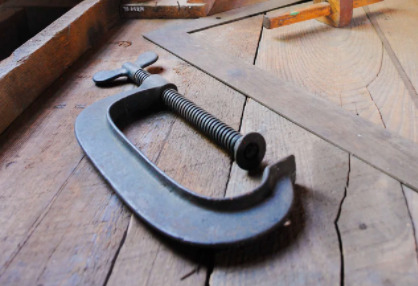
クランプとは、固定するのに使う道具。clampで「クランプをつける、固定する」、unclampで「クランプをはずす」という意味。両方とも他動詞。
(関連)
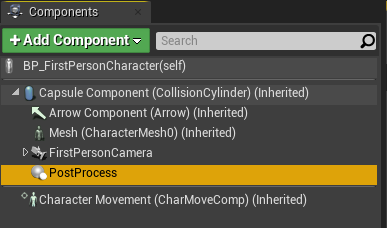
Post Process Volume
場所:BP_FirstPersonCharacter
手順・注意点
1.[PostProcess]のコンポーネントを追加して[Priority]を1,[Blend Weight]を0にする。
↓
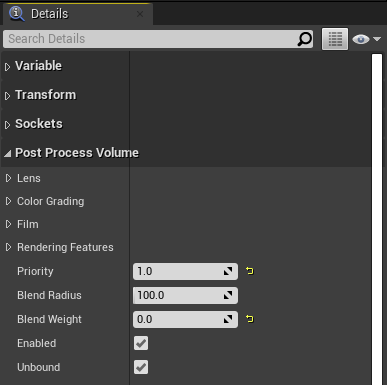
Blend Weightは1が100%、0が0%。
このPost Processは Blend Weightが0なので、このままでは影響を及ぼさない。
(参考)
(Priority(優先度)は高いものが優先されて適用される。Blend Weightは、シーンにどれだけ強く適用させるかの程度を表す。)
2.BPの彩度(Saturation)を0にする。彩度0=モノクロ。
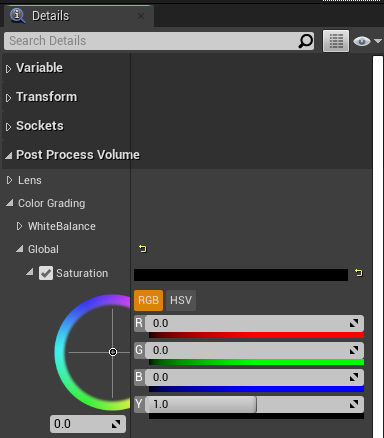
(デフォルト(彩度1.1)のものより、BP(彩度0)の方が優先度が高い。しかし、BPのBlend Weightが0なので現状では彩度1.1のままである。このBPのBlend Weight変化させるBPを後で作る。)
場所:BP_FirstPersonCharacter
手順・注意点
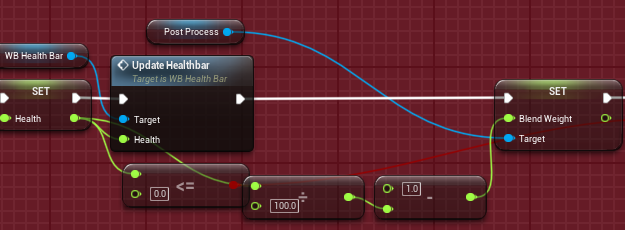
1.[Post Process]をgetする。

2.[Blend Weight]を[Post Process]からsetして、HealthのDebagに組み込む。
(Blend WeightはSet Percentと同様に0から1の値が必要。)

↓
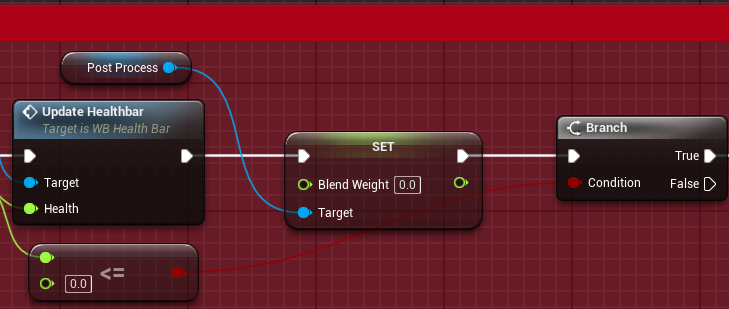
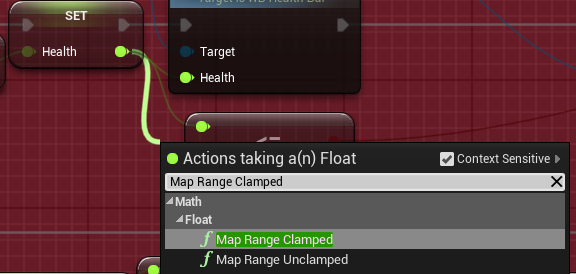
3.[Set Health]から[Map Range Clamped]をつくり、[Set Blend Weight]につなぐ。
(Healthの値を最大値の100で割っても良いが、今回は[Map Range Clamped]を使う。)
↓
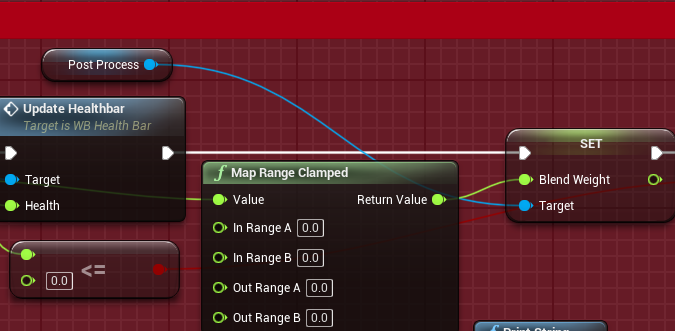
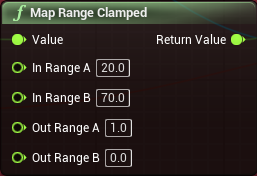
4.[Map Range Clamped]の中身を設定する。
in(Value): Healthの値
out(Return Value): Blend Weight(彩度0のPost Process)
Healthが70以上のときBlend Weightは0,Healthが20以下のときBlend Weightは1になる。
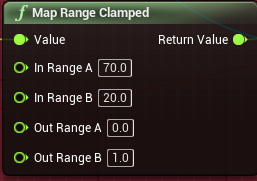
Healthの値が70~20の間で、Blend Weightの値が0~1に徐々に変化する。
(このBlend Weightは彩度0のPost Processのものである。Blend Weightが1になると彩度0、Blend Weightが0だと彩度1.1(初期値)になる。)
↓のようにしても全く同じ。状態Aと状態Bを入れ替えただけ。
(補足1)
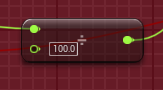
[Map Range Clamped]のかわりに[float/float]を使ってみた。[p]を押したら一気に彩度が小さくなり、Healthが減るごとに彩度が1.1に近づく。初めからモノクロではないのはpを押さない限り、このBPが起動しないから。
(補足2)
[float/float]と[float-float]を使うことで、徐々にモノクロに近づくBPを作ってみた。Healthが70~20の間で変化するようにするには、条件分岐を作る必要があるので複雑になりそう。
コメント