Blenderとは無料で利用できる3DCG制作アプリです。
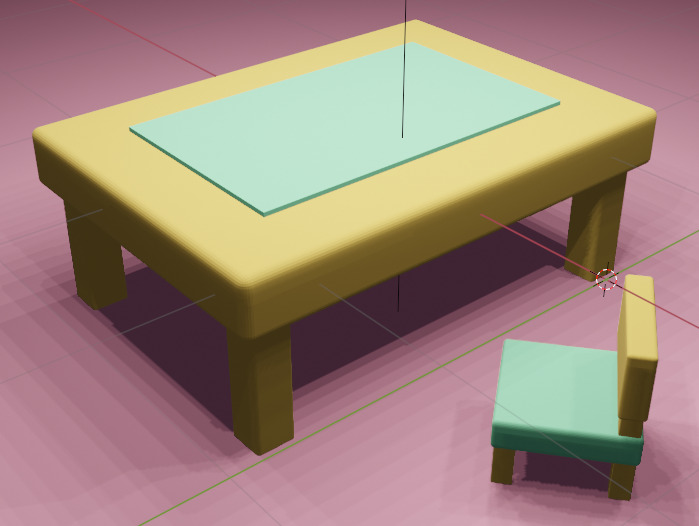
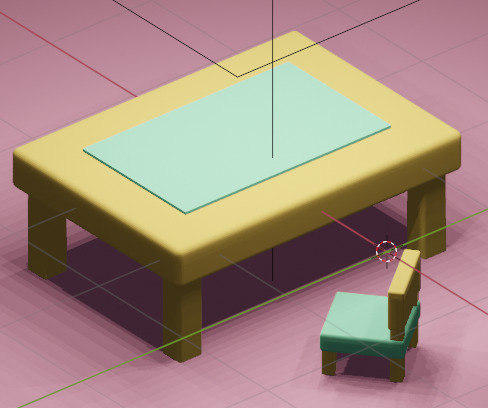
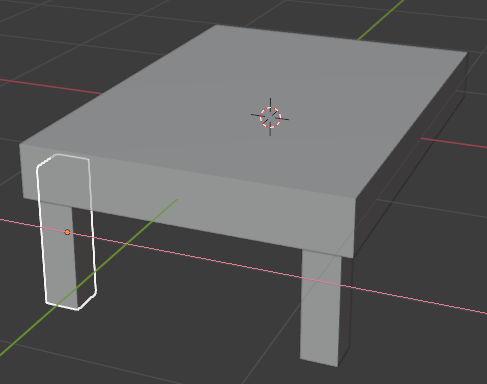
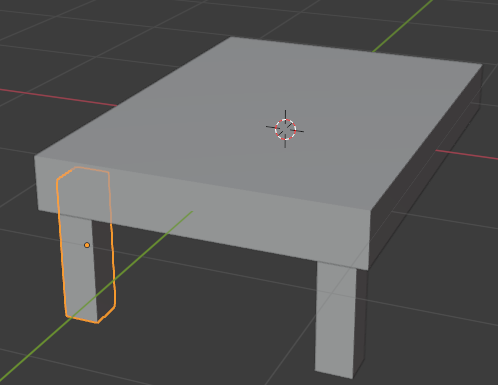
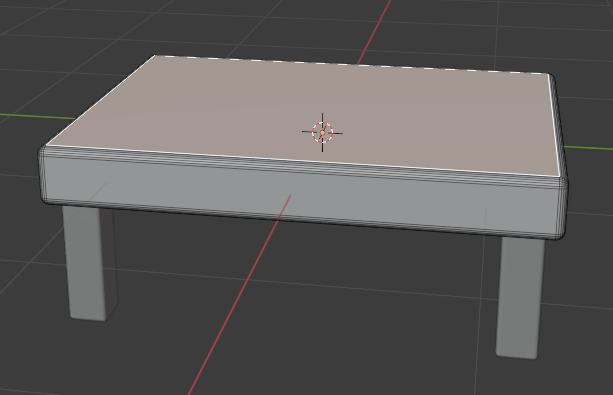
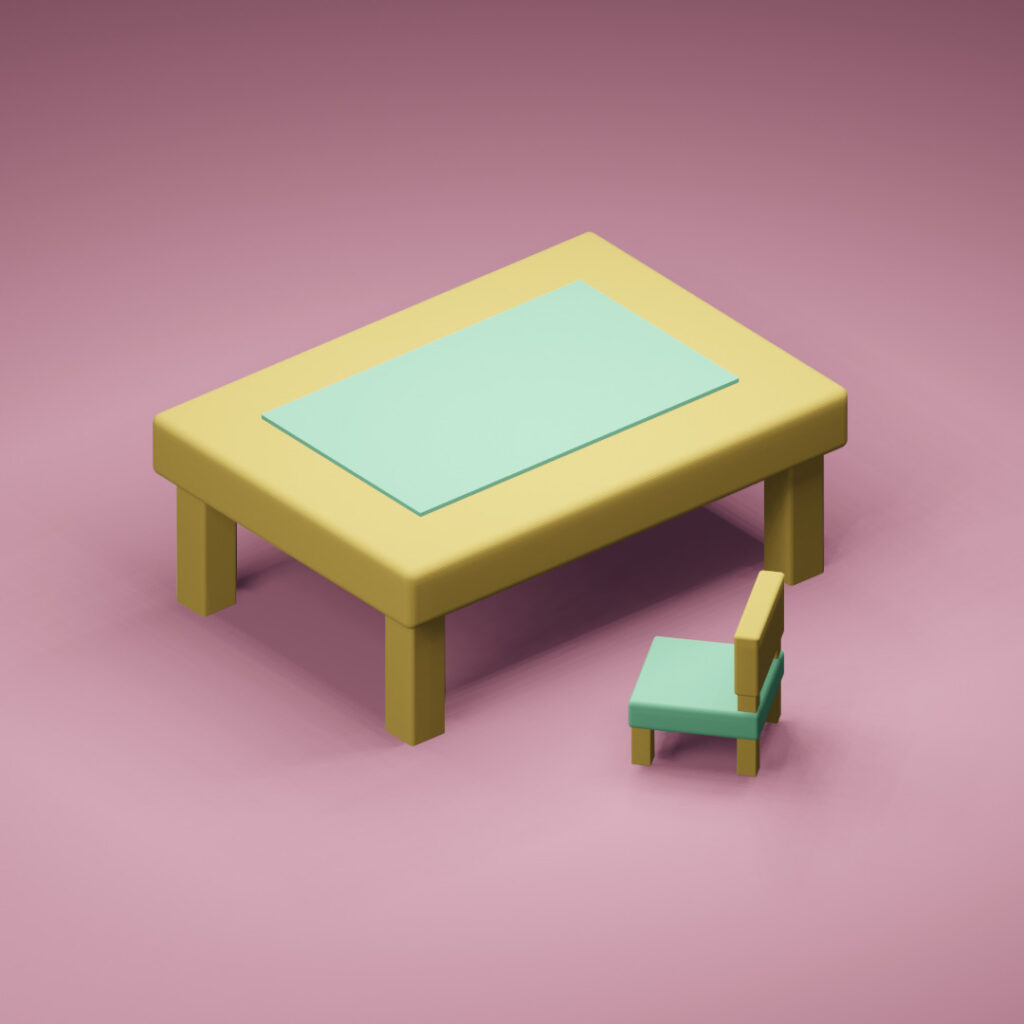
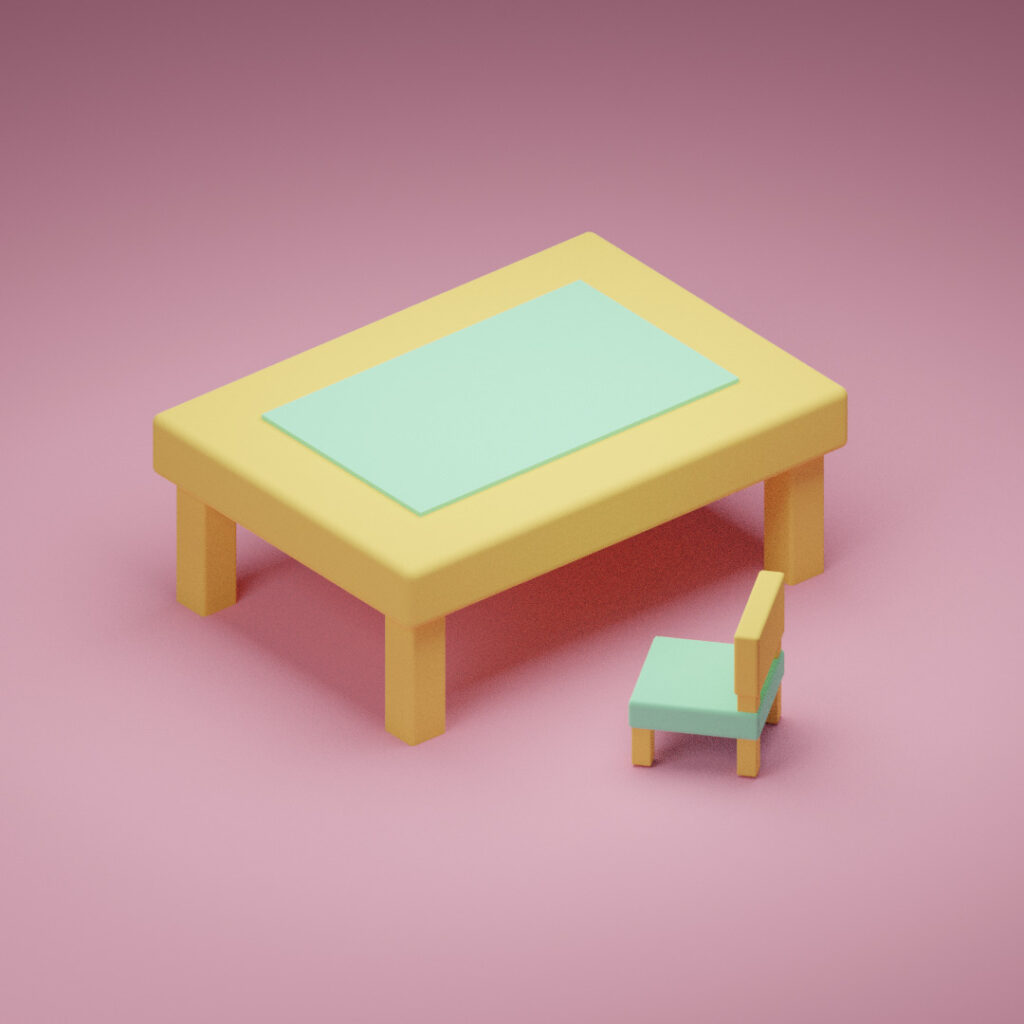
机と椅子を作成してみましたが、はじめてでも簡単でした。
作るのに必要な知識をまとめました。学習にお役立てください。
また、Blenderで作ったオブジェクトをゲームエンジンであるUnreal EngineにExportする方法もまとめました。
👇エクスポートの方法などは、こちらの方がオススメです。

インストールはとても簡単です。
サイトの指示通りに進めればできると思いますが、困ったときの為に一応手順を紹介しておきます。(Windowsの場合のものを紹介しますが、Macでも同様にインストールできます。)
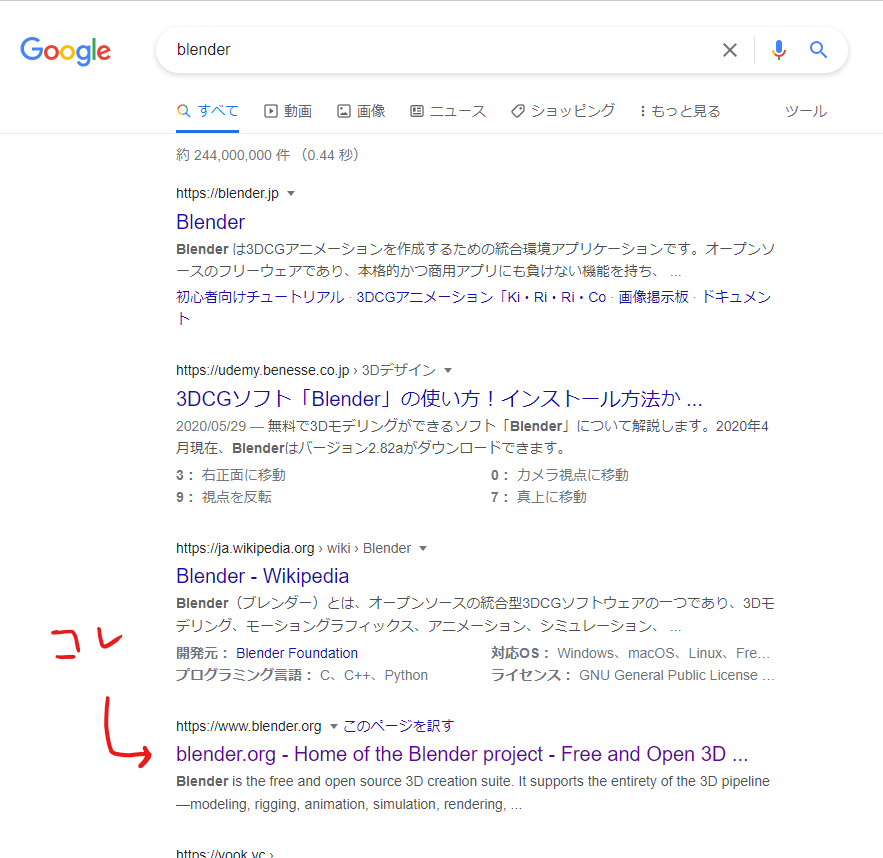
1.Googleで検索で[blender]と検索して、[blender.org…..]と書いてあるサイトを左クリックして開く。
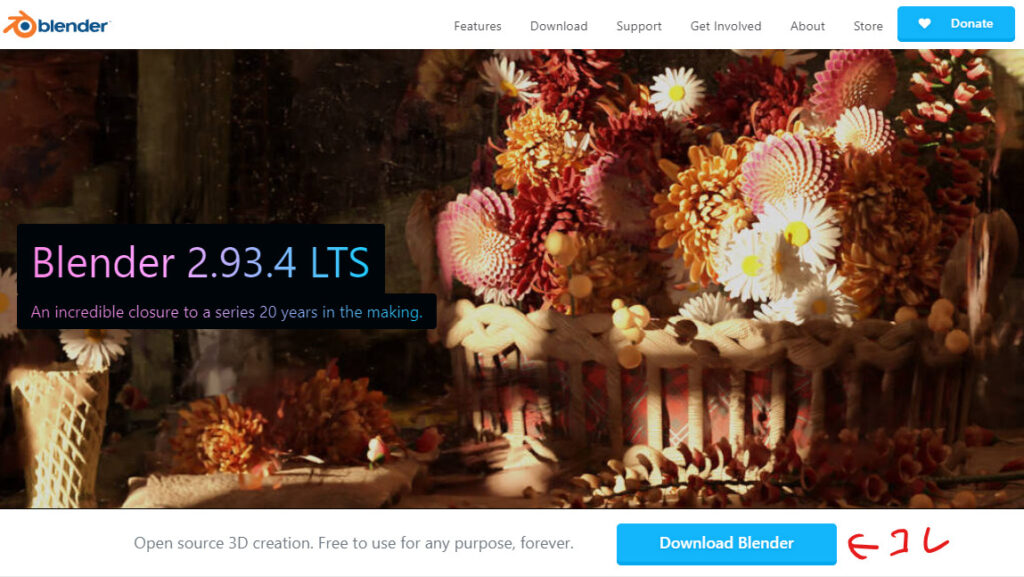
2.開いたサイト内で、[Download Blender]をクリック。
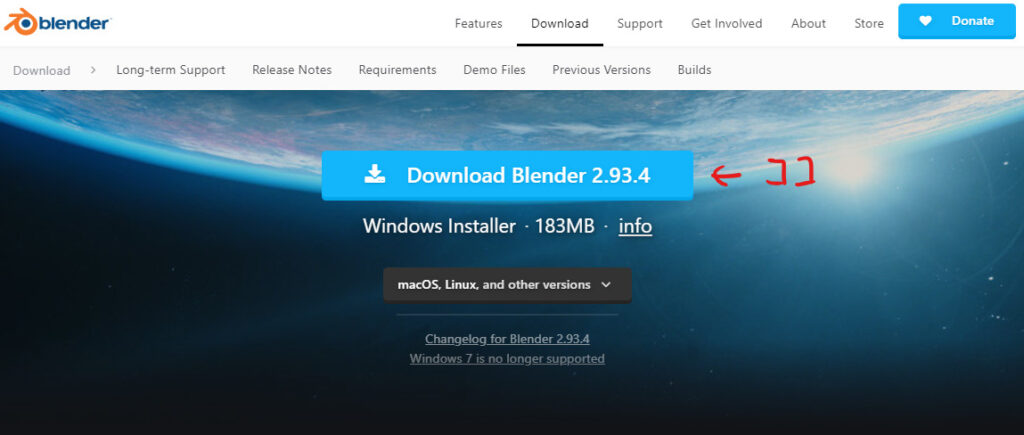
3.[Download Blender]をクリック。最後の数字は違っていても問題ないです。
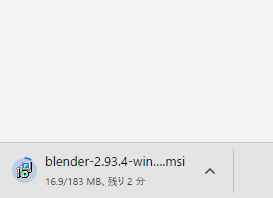
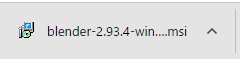
4.ダウンロードが開始される(左下にダウンロード状況が出てきます)。完了したらクリック。
↓
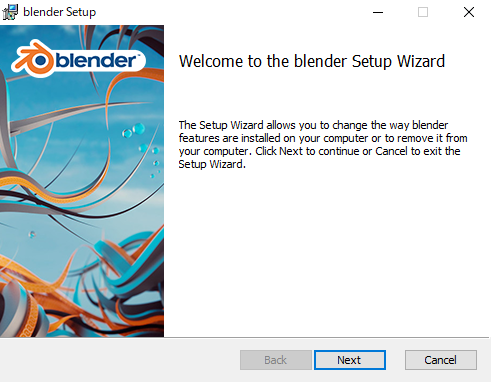
5.インストーラーが起動しますので、[Next]を選んでいけばインストールできます。
Blenderの基本

設定
僕は英語の設定のままで進めますが、日本語化の方法を説明します。
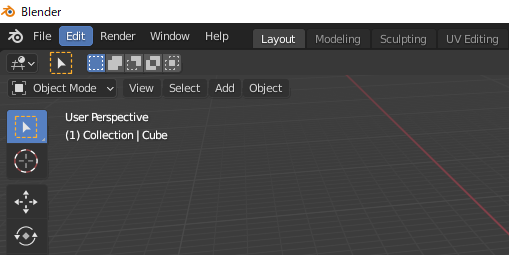
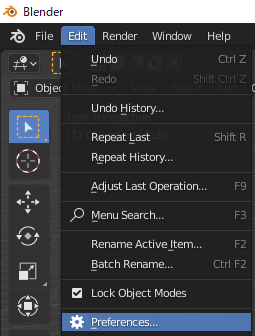
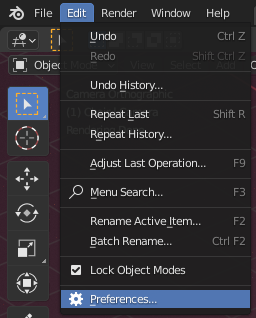
1.左上にある[Edit]をクリックして、その後[Preferences…]をクリックする。
↓
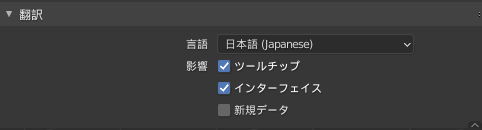
2.[Language]をクリック、その後[Japanese(日本語)]を選択する。

↓
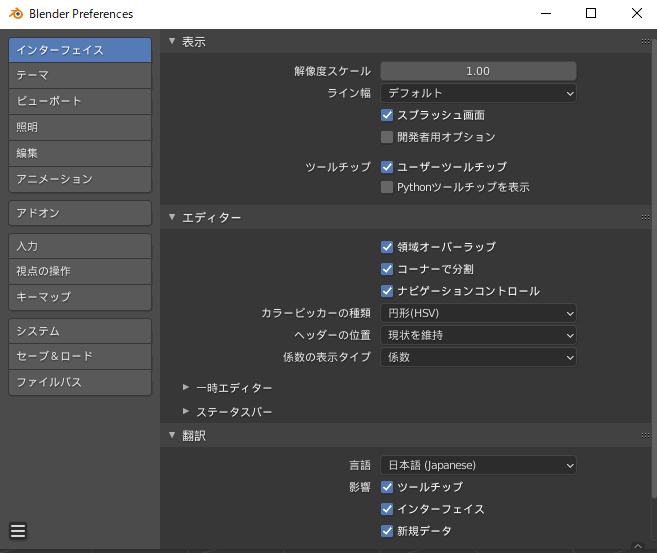
3.「新規データ」からはチェックを外しておく。
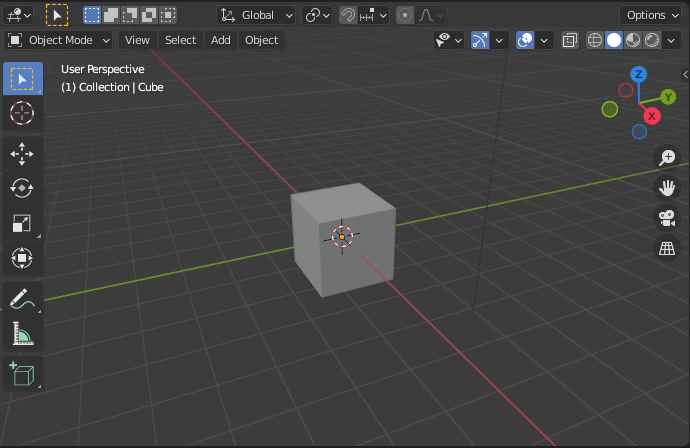
3D Viewport
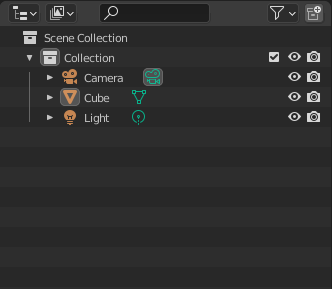
Outliner
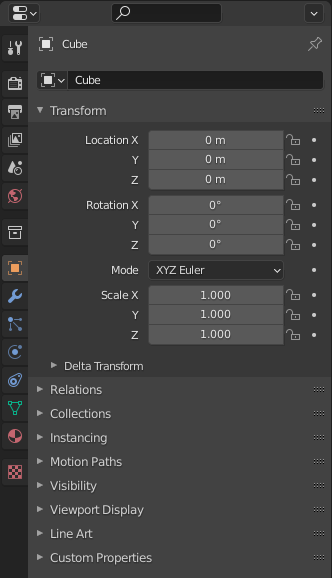
Property
Timeline

基本操作
(ホイールを押し込んで)ドラッグ
(ホイールを押し込んで)Shift + ドラッグ
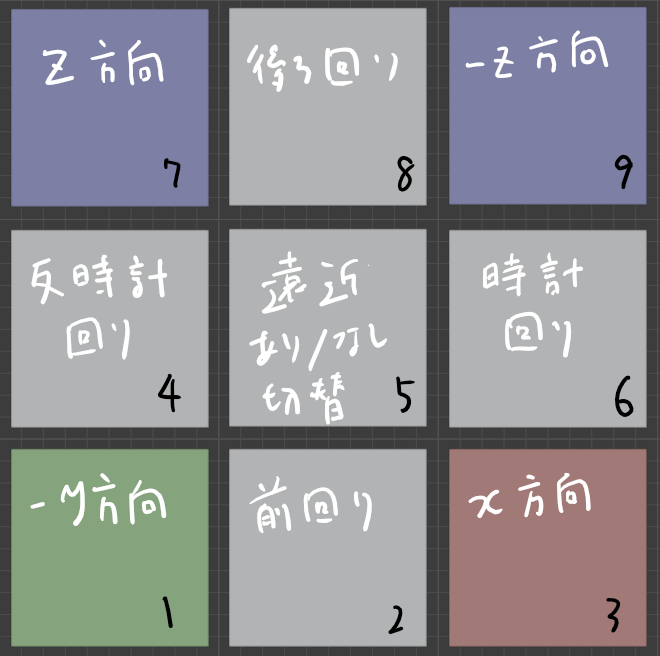
[0]キーはカメラ視点との切り替え。
[9]キーはZ軸180度回転。(ただし、Z軸方向から見ているときはX軸180度回転)
X軸→-X軸→X軸→・・・
Y軸→-Y軸→Y軸→・・・
Z軸→-Z軸→Y軸→・・・
perspective:透視投影。遠近あり

orthographic:平行投影。遠近なし

ホイールを回す
Ctrl + Z
Ctrl + Shift + Z
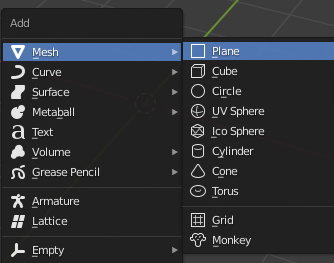
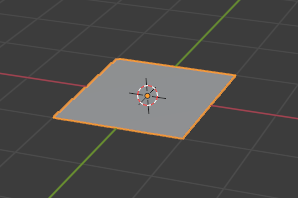
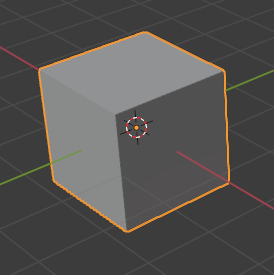
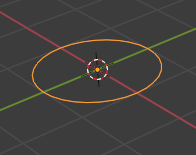
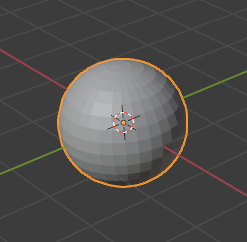
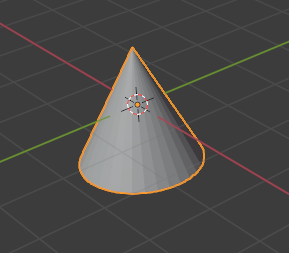
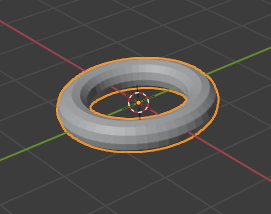
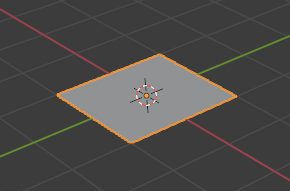
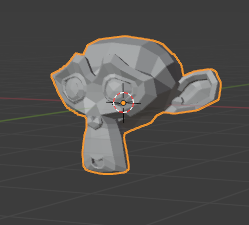
Shift + A → 欲しいオブジェクトを選択
Aは”Add(追加)”のA
Shift + D
↓
↓
↓
複製後、対応するキーを押すことで
G:移動
S:拡縮
R:回転
をすることもできる。
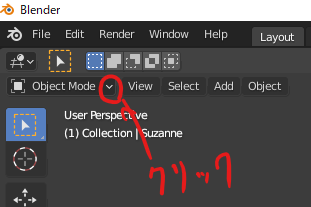
Tabキー
(良く使う[Object Mode]と[Edit Mode]を切り替えることができる。)
Object Mode:オブジェクトの移動、回転などができる。
Edit Mode:オブジェクトを細かく編集できる。
左上のタブから選べる
↓

Viewportの右上から変更できる。作業内容に合わせて変更する。
[Wire Edges]
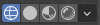
[Solid Mode]
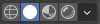
[Material Preview Mode]

[Render Preview]

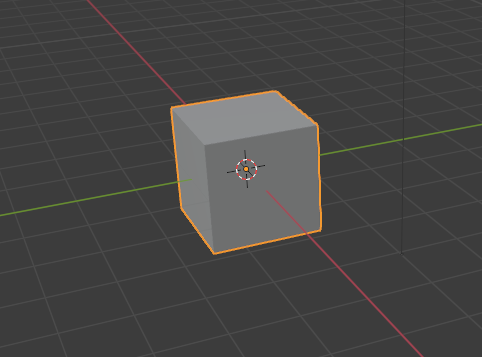
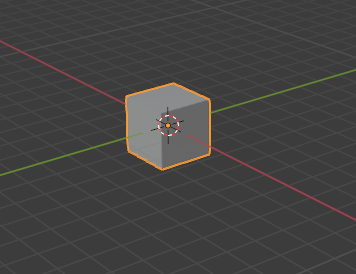
[Object Mode]の操作
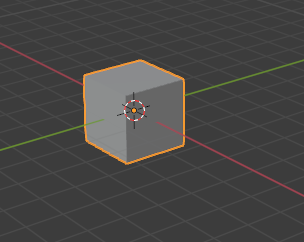
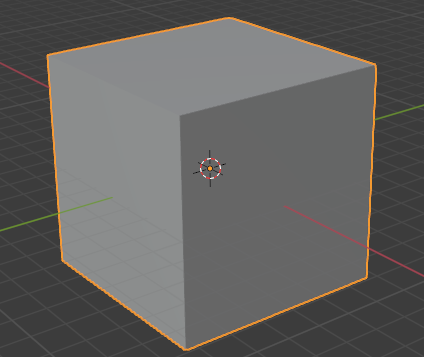
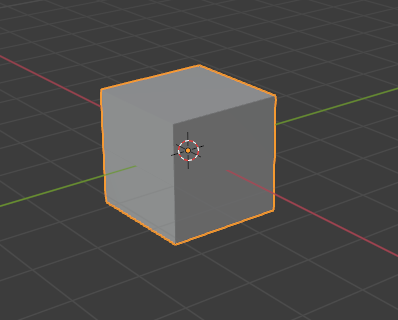
(オブジェクトの上にマウスを合わせて)左クリック
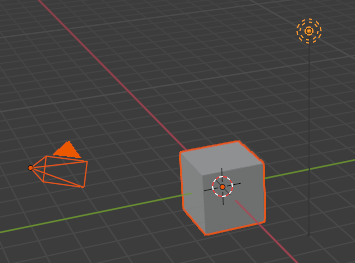
Shift + 左クリック(1ずつ追加)
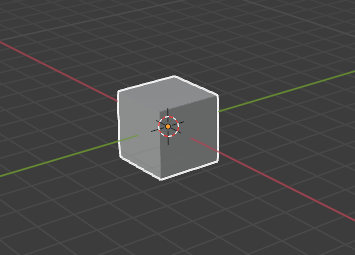
間違ったオブジェクトを選択したときは、もう一度クリックすることで解除できる。
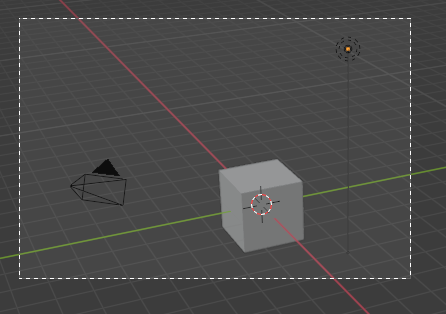
範囲選択でもOK
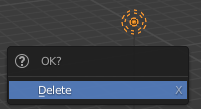
(消したいオブジェクトを選択して)Deleteキー
↓
Deleteキーを使うのが一番手間が少ないのでオススメ
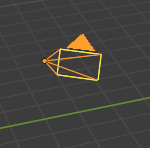
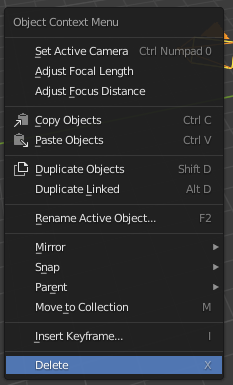
その他の削除方法
(消したいオブジェクトを選択して)X
↓
↓
右クリックしてDeleteを選んでも良い
↓
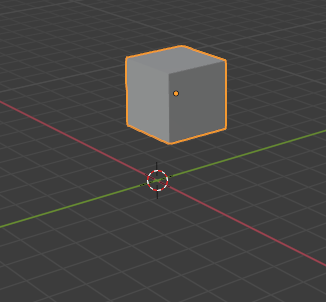
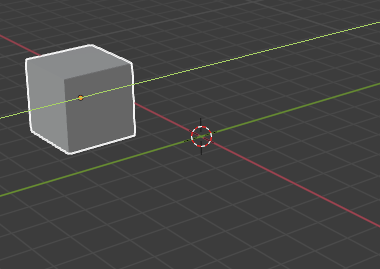
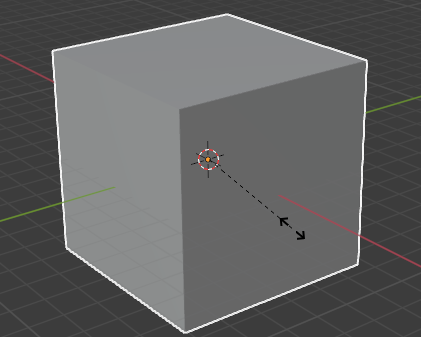
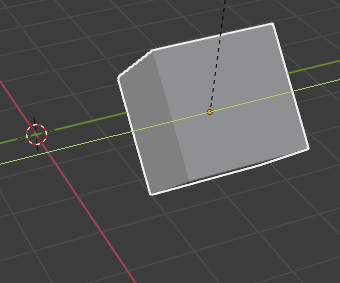
左クリックで選択→Gでオブジェクトをつかむ→ドラッグで移動→左クリックで位置の確定
Gは”Grab(つかむ)”のG
↓
↓
X軸に平行な移動→Gでつかんだ後X
Y軸に平行な移動→Gでつかんだ後Y
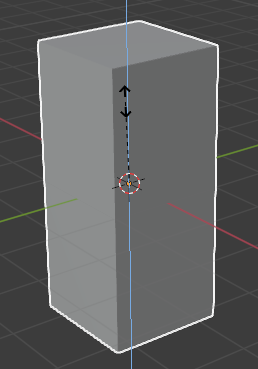
Z軸に平行な移動→Gでつかんだ後Z
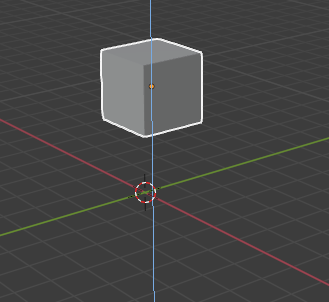
移動後右クリック
↓
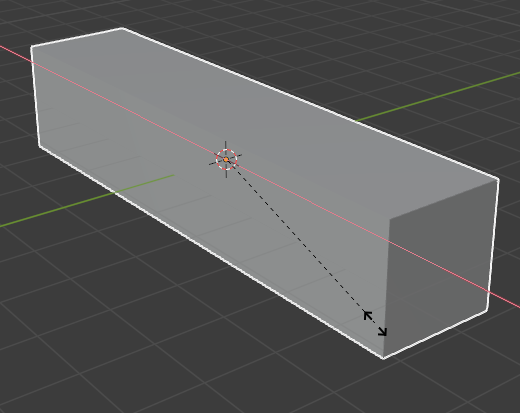
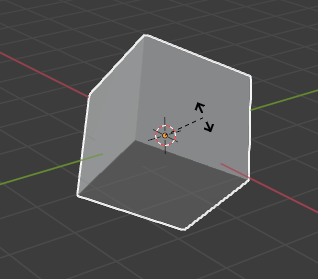
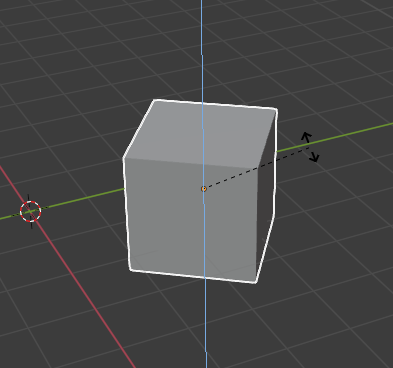
左クリックで選択→Sを押す→ドラッグで拡縮→左クリックで変更確定
Sは”Scale”のS

↓
↓
移動と同様に、右クリックで変更をキャンセルできる。
↓
X軸方向だけの拡縮→選択してSを押した後X
Y軸方向だけの拡縮→選択してSを押した後Y
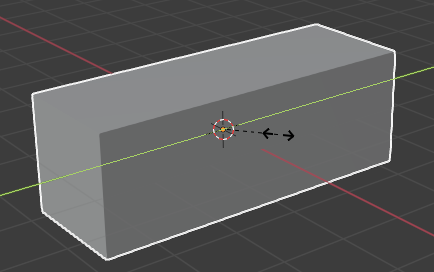
Z軸方向だけの拡縮→選択してSを押した後Z
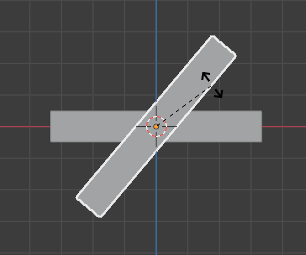
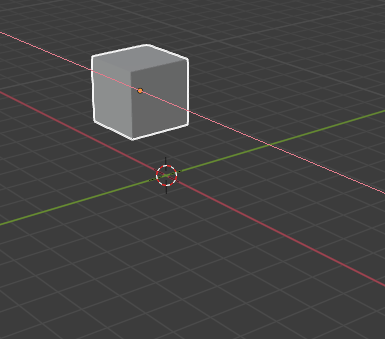
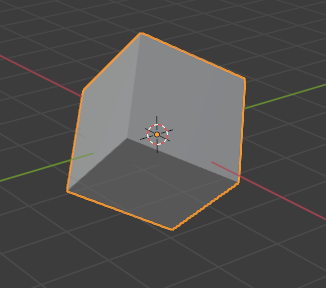
左クリックで選択→Rを押す→ドラッグで回転→左クリックで変更確定
Rは”Rotate(回転する)”のR
↓
↓
右クリックで変更をキャンセルできる。
↓
X軸回転→選択してRを押した後X
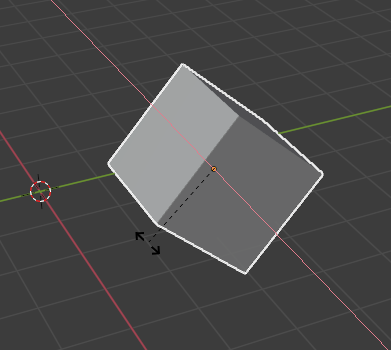
Y軸回転→選択してRを押した後Y
Z軸回転→選択してRを押した後Z
Ctrl + J
(Jは”Join”のJ)
一度結合すると元に戻すのが難しいので慎重に。
[Edit Mode]の操作
[Object Mode]で選択後、[Tab]キーで[Edit Mode]に切り替えて編集。
↓
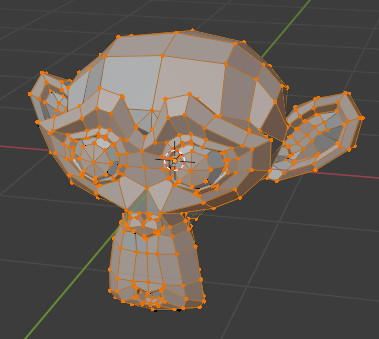
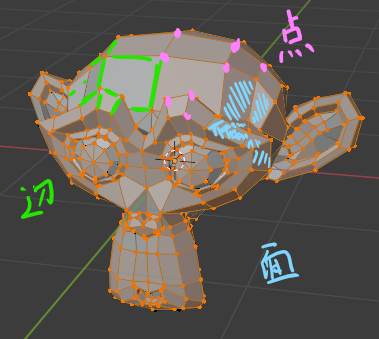
[Edit Mode]では、オブジェクトの点、辺、面を操作することができる。


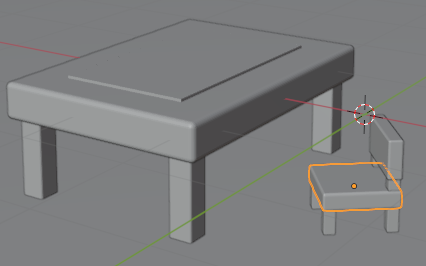
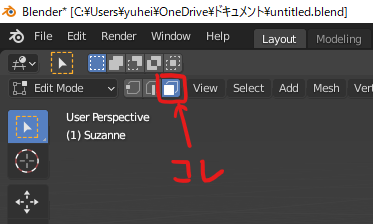
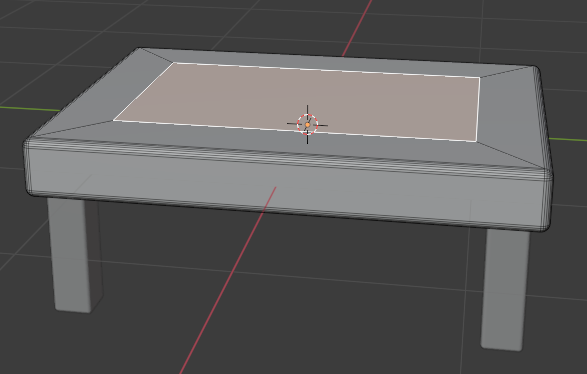
[Viewport]右上の[Toggle X-ray]がONかOFFかで、範囲選択の仕様が変わるので注意すべき。
ONのときは、奥にあるものも一緒に選択される。

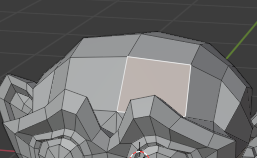
[面の選択モード]で下の画像の範囲を選択。
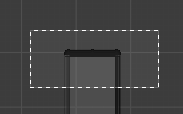
↓
範囲内にある、奥の面も選択された。

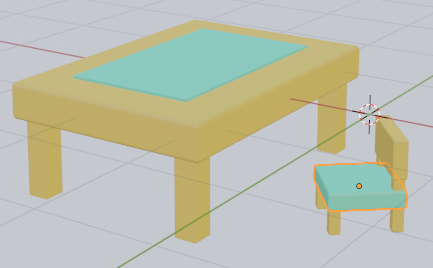
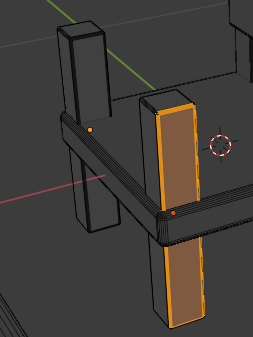
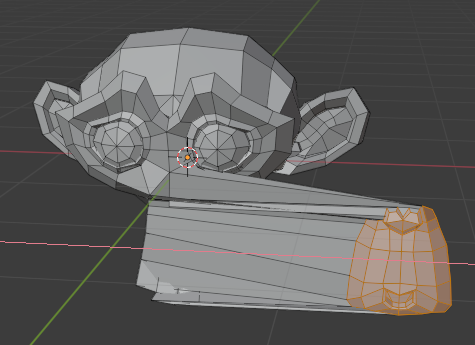
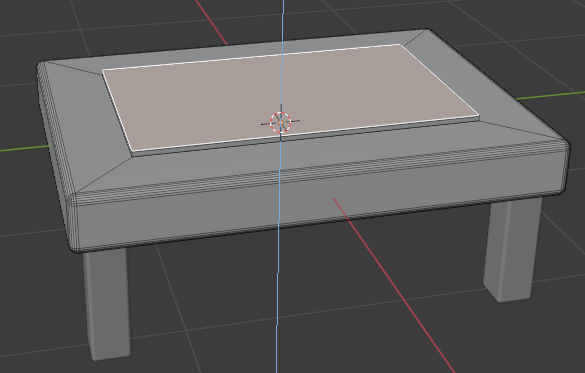
OFFのときは、手前のものだけ選択される。

先ほどと同様に[面の選択モード]で下の画像の範囲を選択。
↓
手前の面だけ選択された。
画面左上から点の編集モードに切り替える

任意の点を左クリックして選択する。
(Shift +左クリックなどで複数選択もできる。)
あとはオブジェクトへの操作と同じ。
G:移動
S:大きさの変更
R:回転
左クリック:変更の確定
右クリック:変更のキャンセル
X:X軸のみ変化
Y:Y軸のみ変化
Z:Z軸のみ変化
画面左上から辺の編集モードに切り替える

任意の辺を左クリックして選択する。
(Shift +左クリックなどで複数選択もできる。)
あとはオブジェクトへの操作と同じ。
G:移動
S:大きさの変更
R:回転
左クリック:変更の確定
右クリック:変更のキャンセル
X:X軸のみ変化
Y:Y軸のみ変化
Z:Z軸のみ変化
画面左上から面の編集モードに切り替える
任意の点を左クリックして選択する。
(Shift +左クリックなどで複数選択もできる。)
あとはオブジェクトへの操作と同じ。
G:移動
S:大きさの変更
R:回転
左クリック:変更の確定
右クリック:変更のキャンセル
X:X軸のみ変化
Y:Y軸のみ変化
Z:Z軸のみ変化
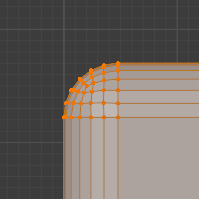
Ctrl + B:全体
Ctrl + Shift + B:頂点
(Bは”Bevel”のB)
[Object Mode]で[Ctrl + A]を押し、[Scale]を選ぶことで綺麗に(45度に)ベベルをかけることができる。

↓
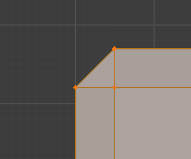
ホイールを回すことで、頂点の数を増やして滑らかにすることができる。
Scaleの値を全て1にする。(そのオブジェクトの大きさを基準にすることを意味する)
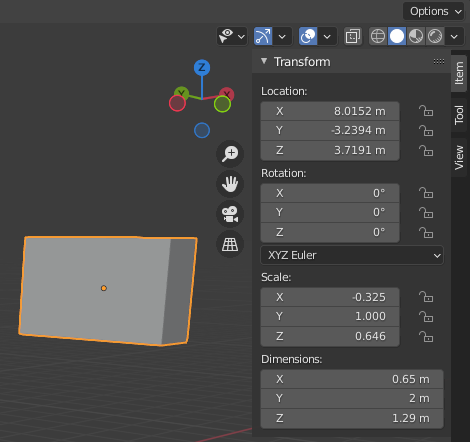
↓
↓
Scaleの値が全て1になった。

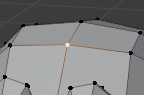
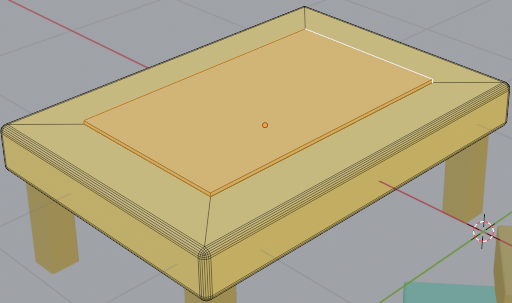
Viewport左上から面の編集モードに切り替える

面を選択して[I]キーを押しす。
(Iは”Insert(挿入)”のI)
↓
面の大きさを調節したら左クリックで確定。
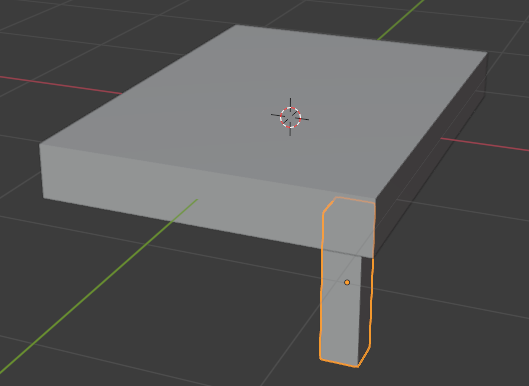
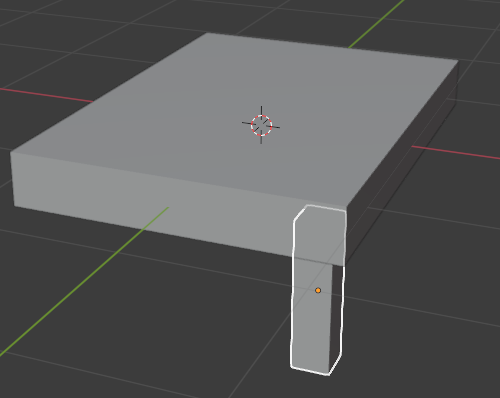
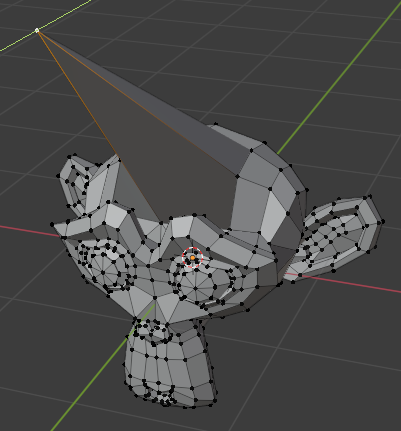
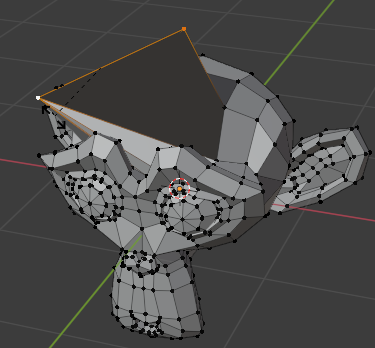
Viewport左上から面の編集モードに切り替える
面を選択して[E]キーを押す。
(Eは”Extrude(押し出す)”のE)
↓
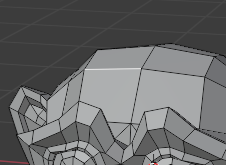
位置を調整。
↓
左クリックで確定。
[Property]の操作
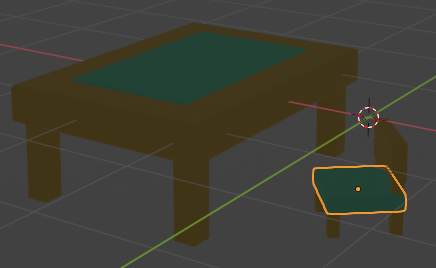
[3D viewport]の右上で、[Material Preview Mode]に切り替える。
色を変更したいオブジェクトを選択する。
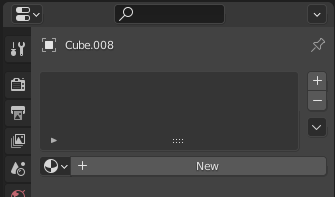
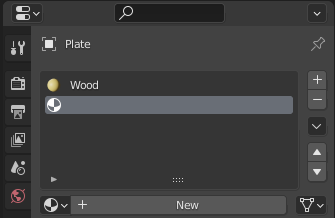
[Property]パネルの左のバーで、[Material Properties]に変更する。
(普段使っているのは[Object Properties])

↓

[+ New ]を選択する。
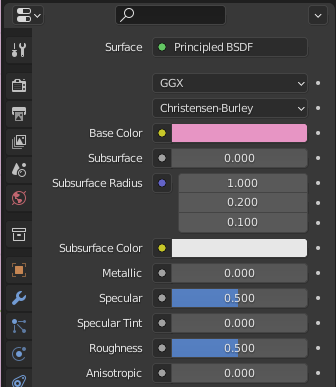
[Base Color]を選択し、色を選ぶ。
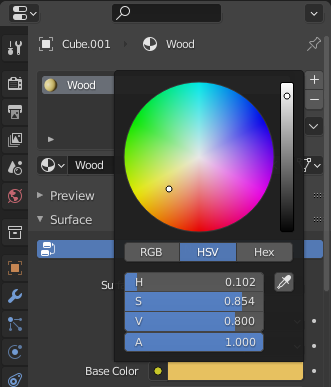
↓
マテリアルの名前をつけておく。
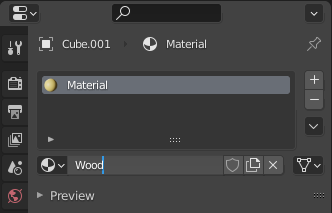
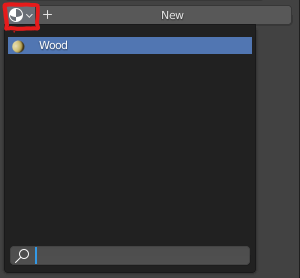
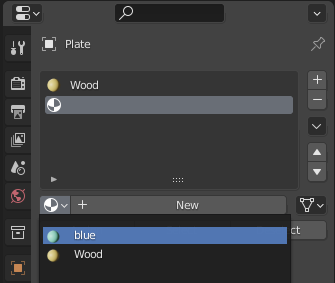
新しいオブジェクトを選択して、[+ New]の左のアイコンをクリック。
↓
作ったマテリアルの中から適用したいマテリアルを選ぶだけ。
↓

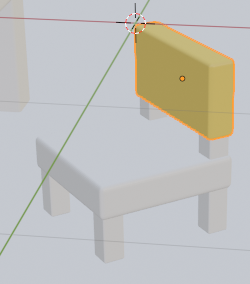
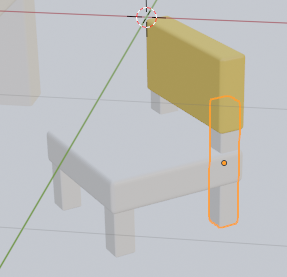
色を変えたい面を選択。
[Property]パネルの[Material Properties]で、[+]を選択する。
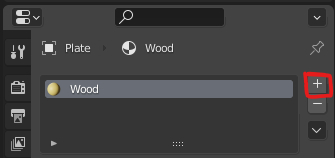
↓
適用したいマテリアルを選択し、[Assign]をクリック。
↓
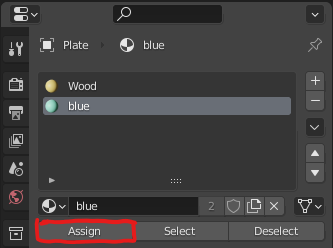
↓
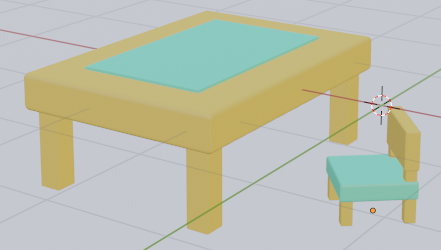
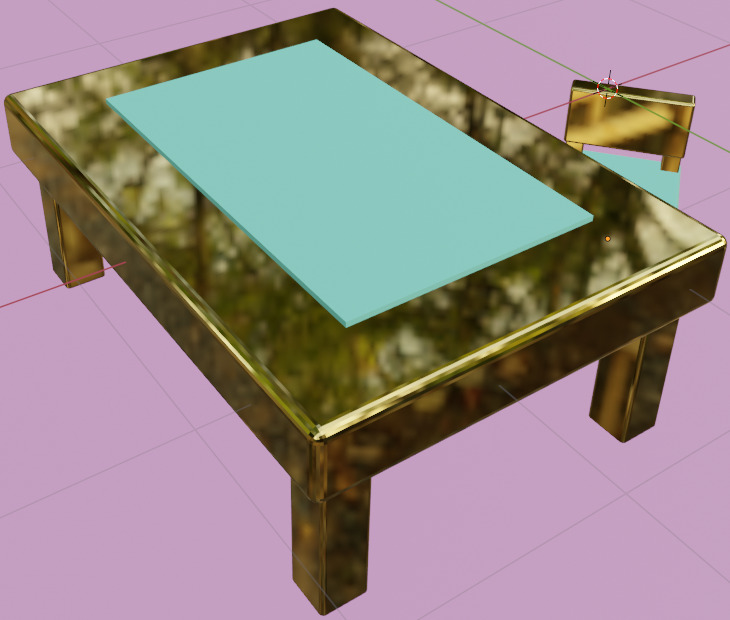
例えば、[Metallic]を1,[Roughness(粗さ)]を0にすると、ピカピカになる。
↓
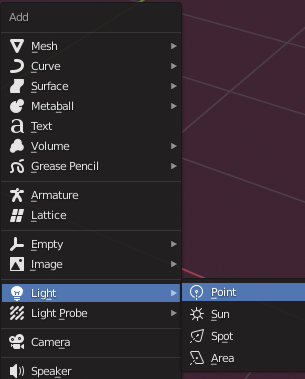
ライトの設定
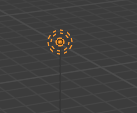
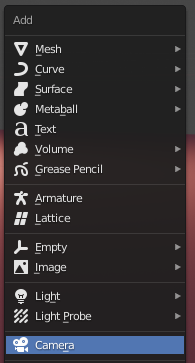
[Shift + A]でライトを追加する。
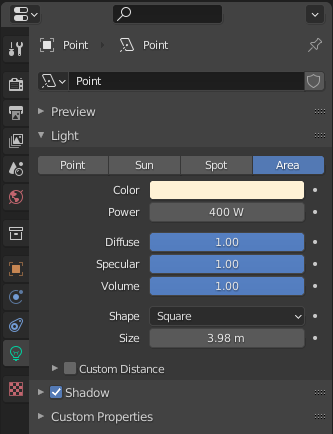
[Property]パネルのライトのアイコンで光の種類や色や明るさを調節できる。
(ライトのオブジェクトを選択しているときのみ、このアイコンは現れる。)

[Shift + A]でカメラを追加する。
テンキーの[0]でカメラ視点に切り替えられる。
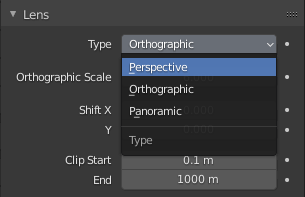
[Property]パネルでカメラのアイコンを選ぶ。
(カメラのオブジェクトを選択しているときのみ、このアイコンは現れる。)

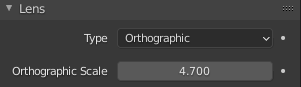
[Lens]の[Type]でPerspective(透視投影)/Orthographic(平行投影)の切り替えができる。
(カメラの投影法はテンキーの[5]では切り替えられない。)
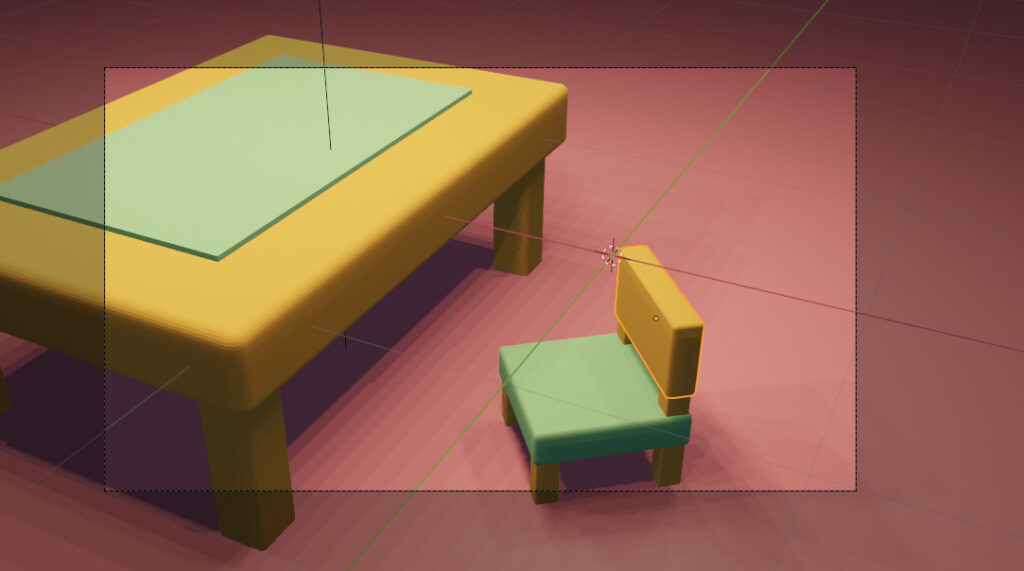
[N]キーを押し、右のタブから[View]を選択する。
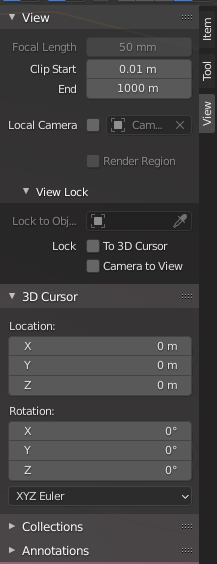
[Camera to View]にチェックを入れる。
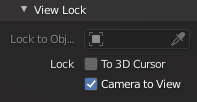
この設定をすれば、視点変更をすることでカメラを覗きながら位置を調整できる。
ただし、平行投影のときのズーム・ズームアウトは[Orthographic Scale]で行う。
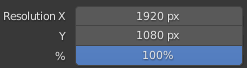
[Property]パネルのプリンターのアイコンを選ぶ。

Resolutionで画像の大きさの変更ができる。
Render:画像や動画を書き出すこと。
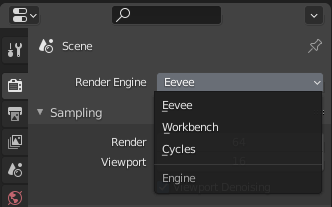
[Property]パネルでカメラのアイコンを選ぶ。

Render Engineの選択。
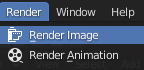
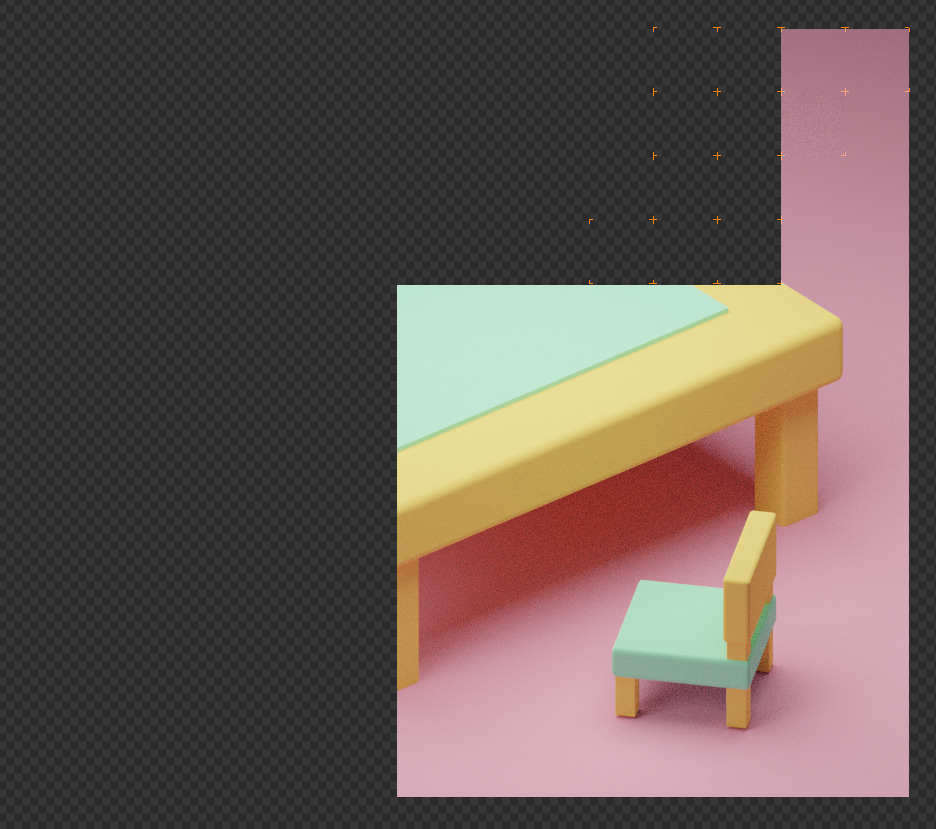
[Viewport]の左上から[Render]>[Render Image]と選び画像を書き出す。
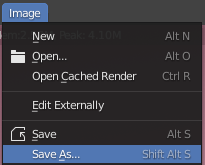
出来た画像の左上から[Image]>[Save As…]を選び名前をつけて保存する。
↓
[Outliner]の操作
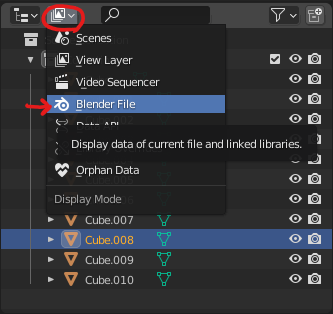
[Outliner]パネルの左上のアイコンを左クリックして現れるリストから[Blender File]を選択する。
(普段使っているのは[View Layer])
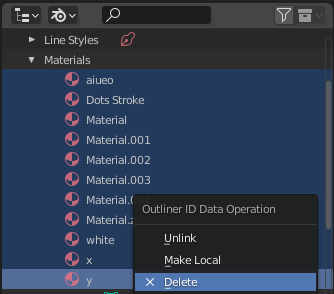
[Materials]を表示する。
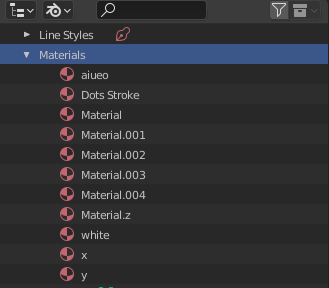
消したいマテリアルを選択して右クリックして、[Delete]する。
(Shift + 左クリックで範囲選択もできる。)
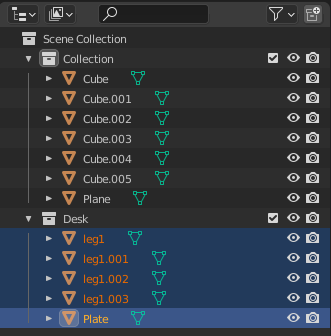
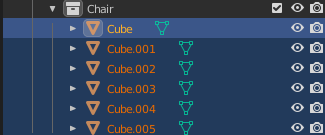
コレクション(ファイル)に入れたいものを範囲選択して[M]キーを押して[+ New Collection]を選ぶ。
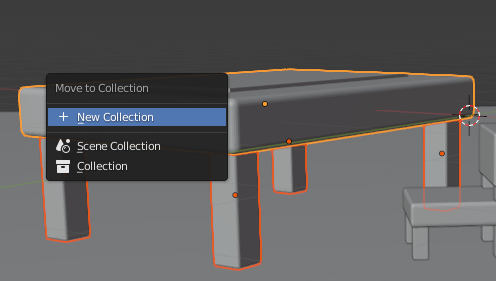
↓
好きな名前をつける。
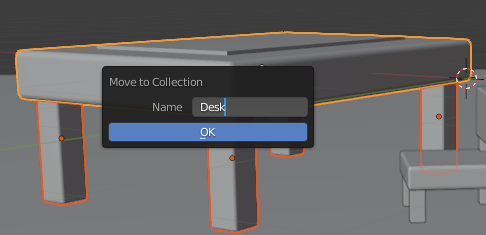
↓
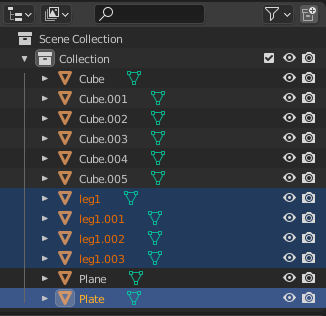
1つのコレクションにまとめられた。
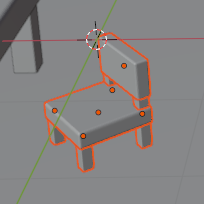
コレクションの上で右クリックして[Select Objects]を選択。
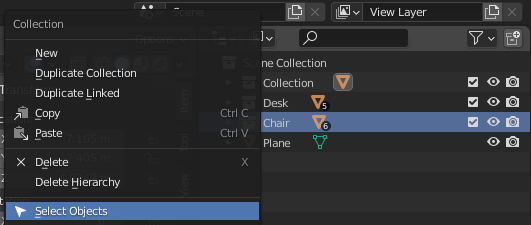
↓
選んだコレクションに入っている全オブジェクトが選択される。
UEへのExport方法

簡単です。無料アカウントで大丈夫です。
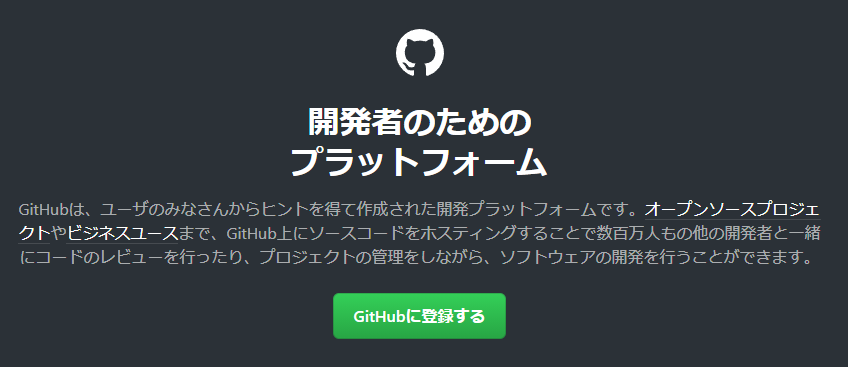
GitHubのサイトに行く。
↓
[GitHubに登録する]を選択。
↓
Username、メールアドレス、パスワードを入力。確認のために登録したアドレスに送られてくる6桁の数字を入力する。
↓
いくつかの質問に答えたら登録完了!

↓
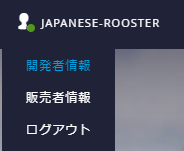
サインインして、開発者情報をクリック。
↓
接続をクリック。
↓
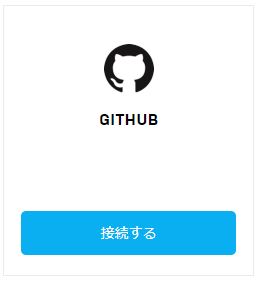
[GITHUB]の下の[接続する]をクリック。
↓
[アカウントをリンクする]をクリック。
↓
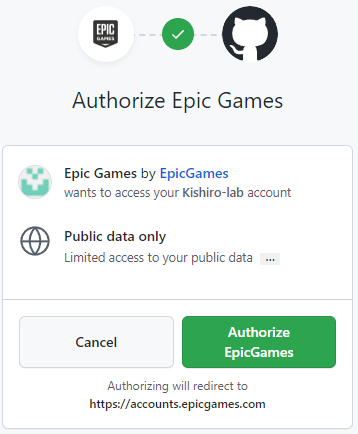
[Authorize Epic Games]をクリック。
↓
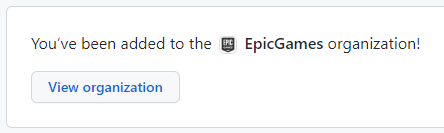
登録したアドレスにメールが届くので、[Join@EpicGames]をクリックする。

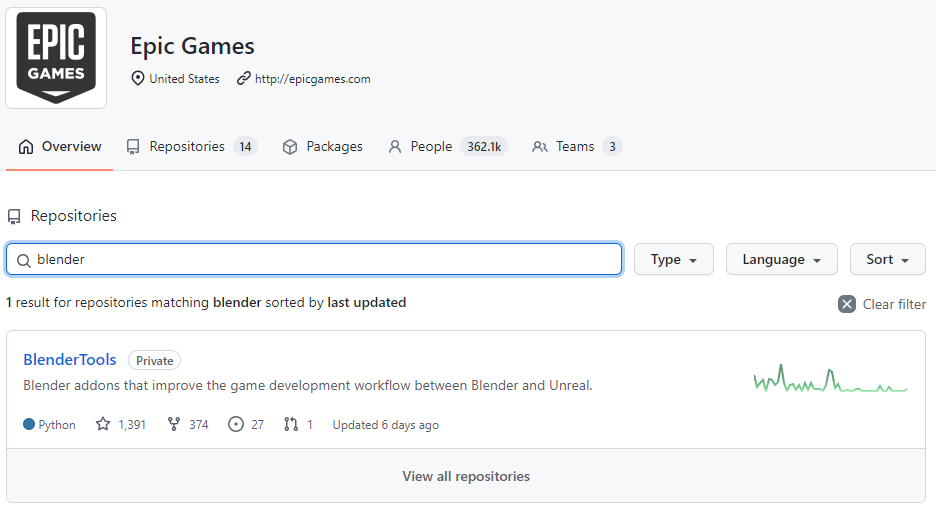
GitHubのホーム画面から、[View organization]を選ぶ。
↓
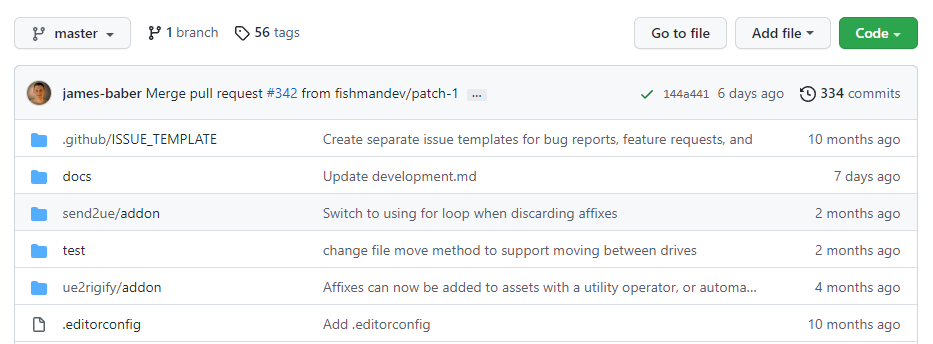
遷移先の画面で[blender]などと検索して、[BlenderTools]をクリック。
下にスクロールして[Download]をクリック。
↓
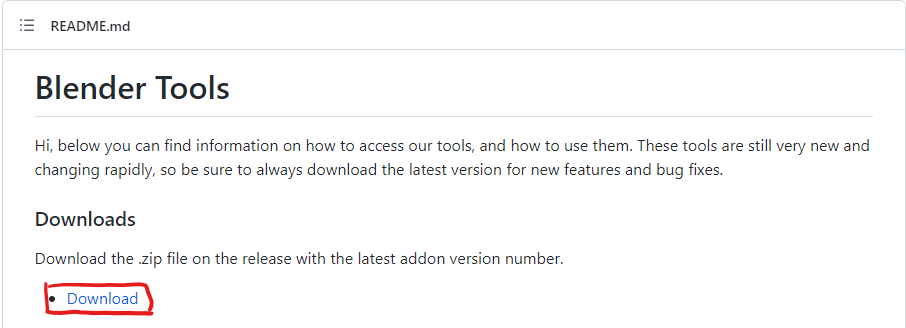
最新版を選ぶ。
下にスクロールして[send2ue…]を選ぶとダウンロードが開始される。
[Blender]に戻って[Preferences…]を開く。
↓
[Install…]を選ぶ。
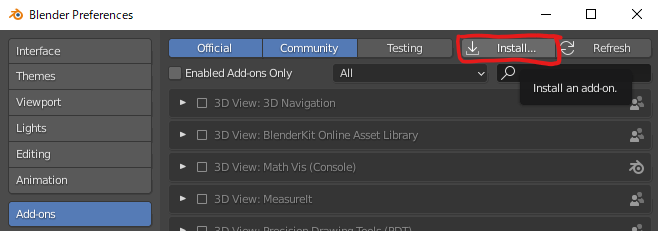
先ほどダウンロードしたzipファイルを選び、インストールする。
↓
↓
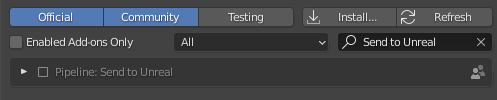
チェックを入れる。

↓
アドオン追加完了。
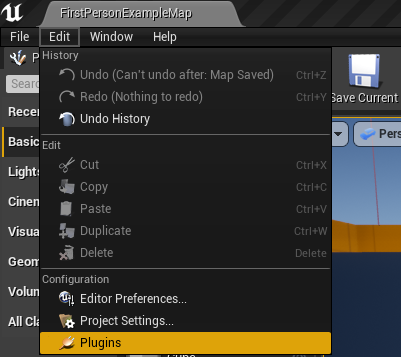
プロジェクトを開き、メニューバーから[Edit]>[Plugins]を選ぶ。
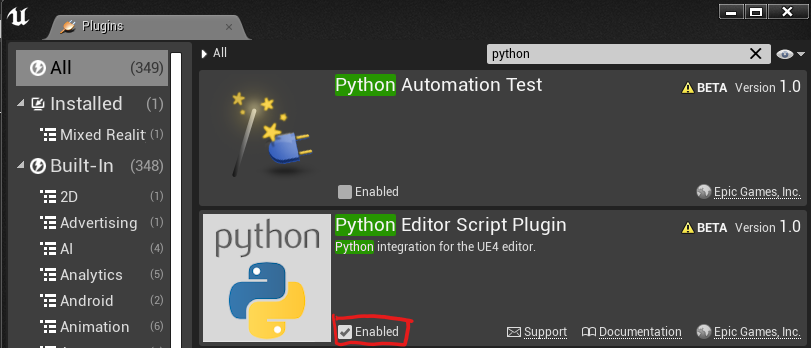
[Python]を有効にする。(Enabledにチェックを入れる。)
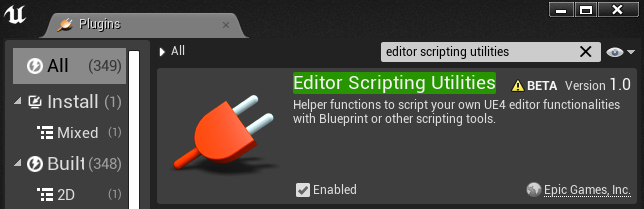
[Editor Scripting Utilities]も有効にする。
[Restart Now]を押してUEを再起動。

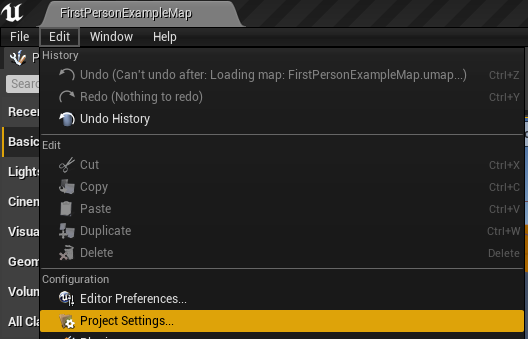
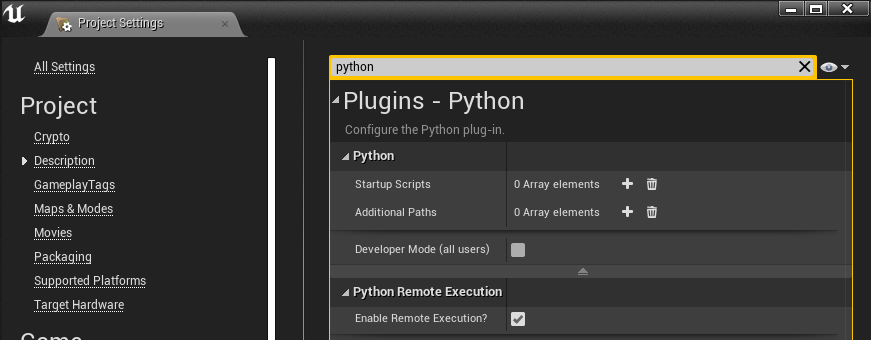
再起動後、メニューバーから[Edit]>[Project Settings…]を選ぶ。
[Enable Remote Execution?]にチェックを入れる。
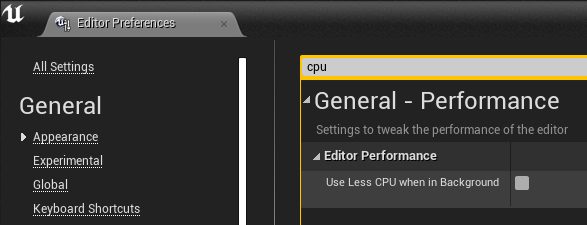
メニューバーから[Edit]>[Editor Preferences…]を選ぶ。
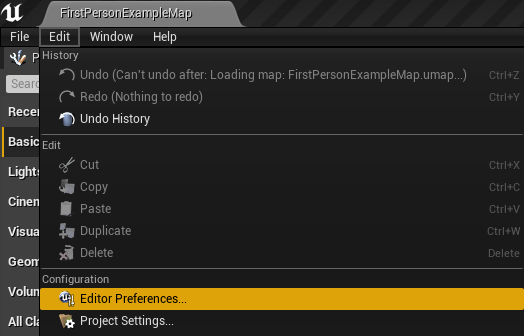
[Use Less CPU when in Background]のチェックを外す。
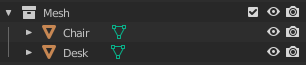
[Outliner]パネルに新しいコレクションが追加されている。
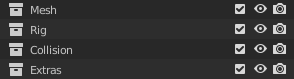
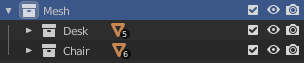
[Mesh]の中にUEに移したいものを入れる。

[Pipeline]から[Send to Unreal]を選ぶ。

[アクセスを許可する]を選ぶ。(初回だけ)
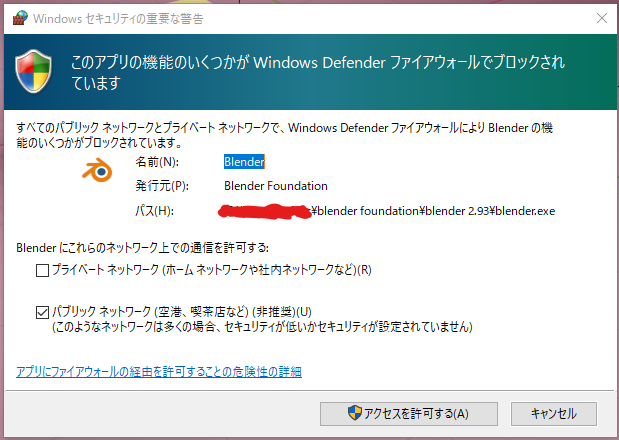
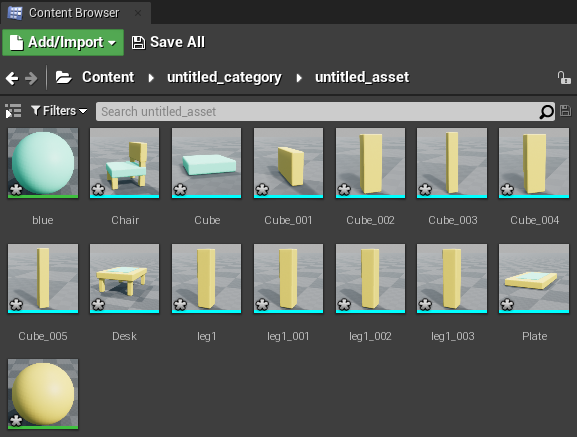
UEに戻ると[Untitled_category]フォルダと、その下に[untitled_asset]フォルダができている。その中に[Blender]で[Mesh]に入れたものが入っている。
↓
ドラッグすることで配置できる。
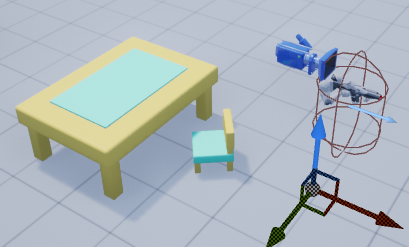
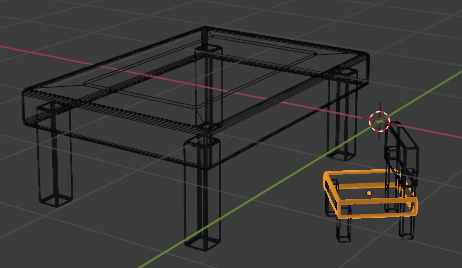
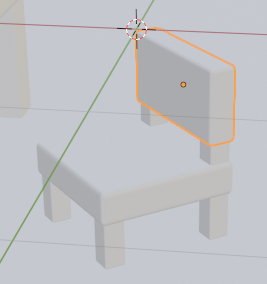
UEに送ったものが全てバラバラ。
↓
机と椅子の部品のみ。

[Ctrl + J]でオブジェクトの結合をして[Send to Unreal]をしたら結合した状態で送れる。
↓
参考動画
Blenderについて
UEへのExportについて
Twitterしてます
ブログの更新をお知らせ
コメント